Core Assembly
First Z Bearings
Note
Take these steps in order. The Core is very dependent on the order of assembly.
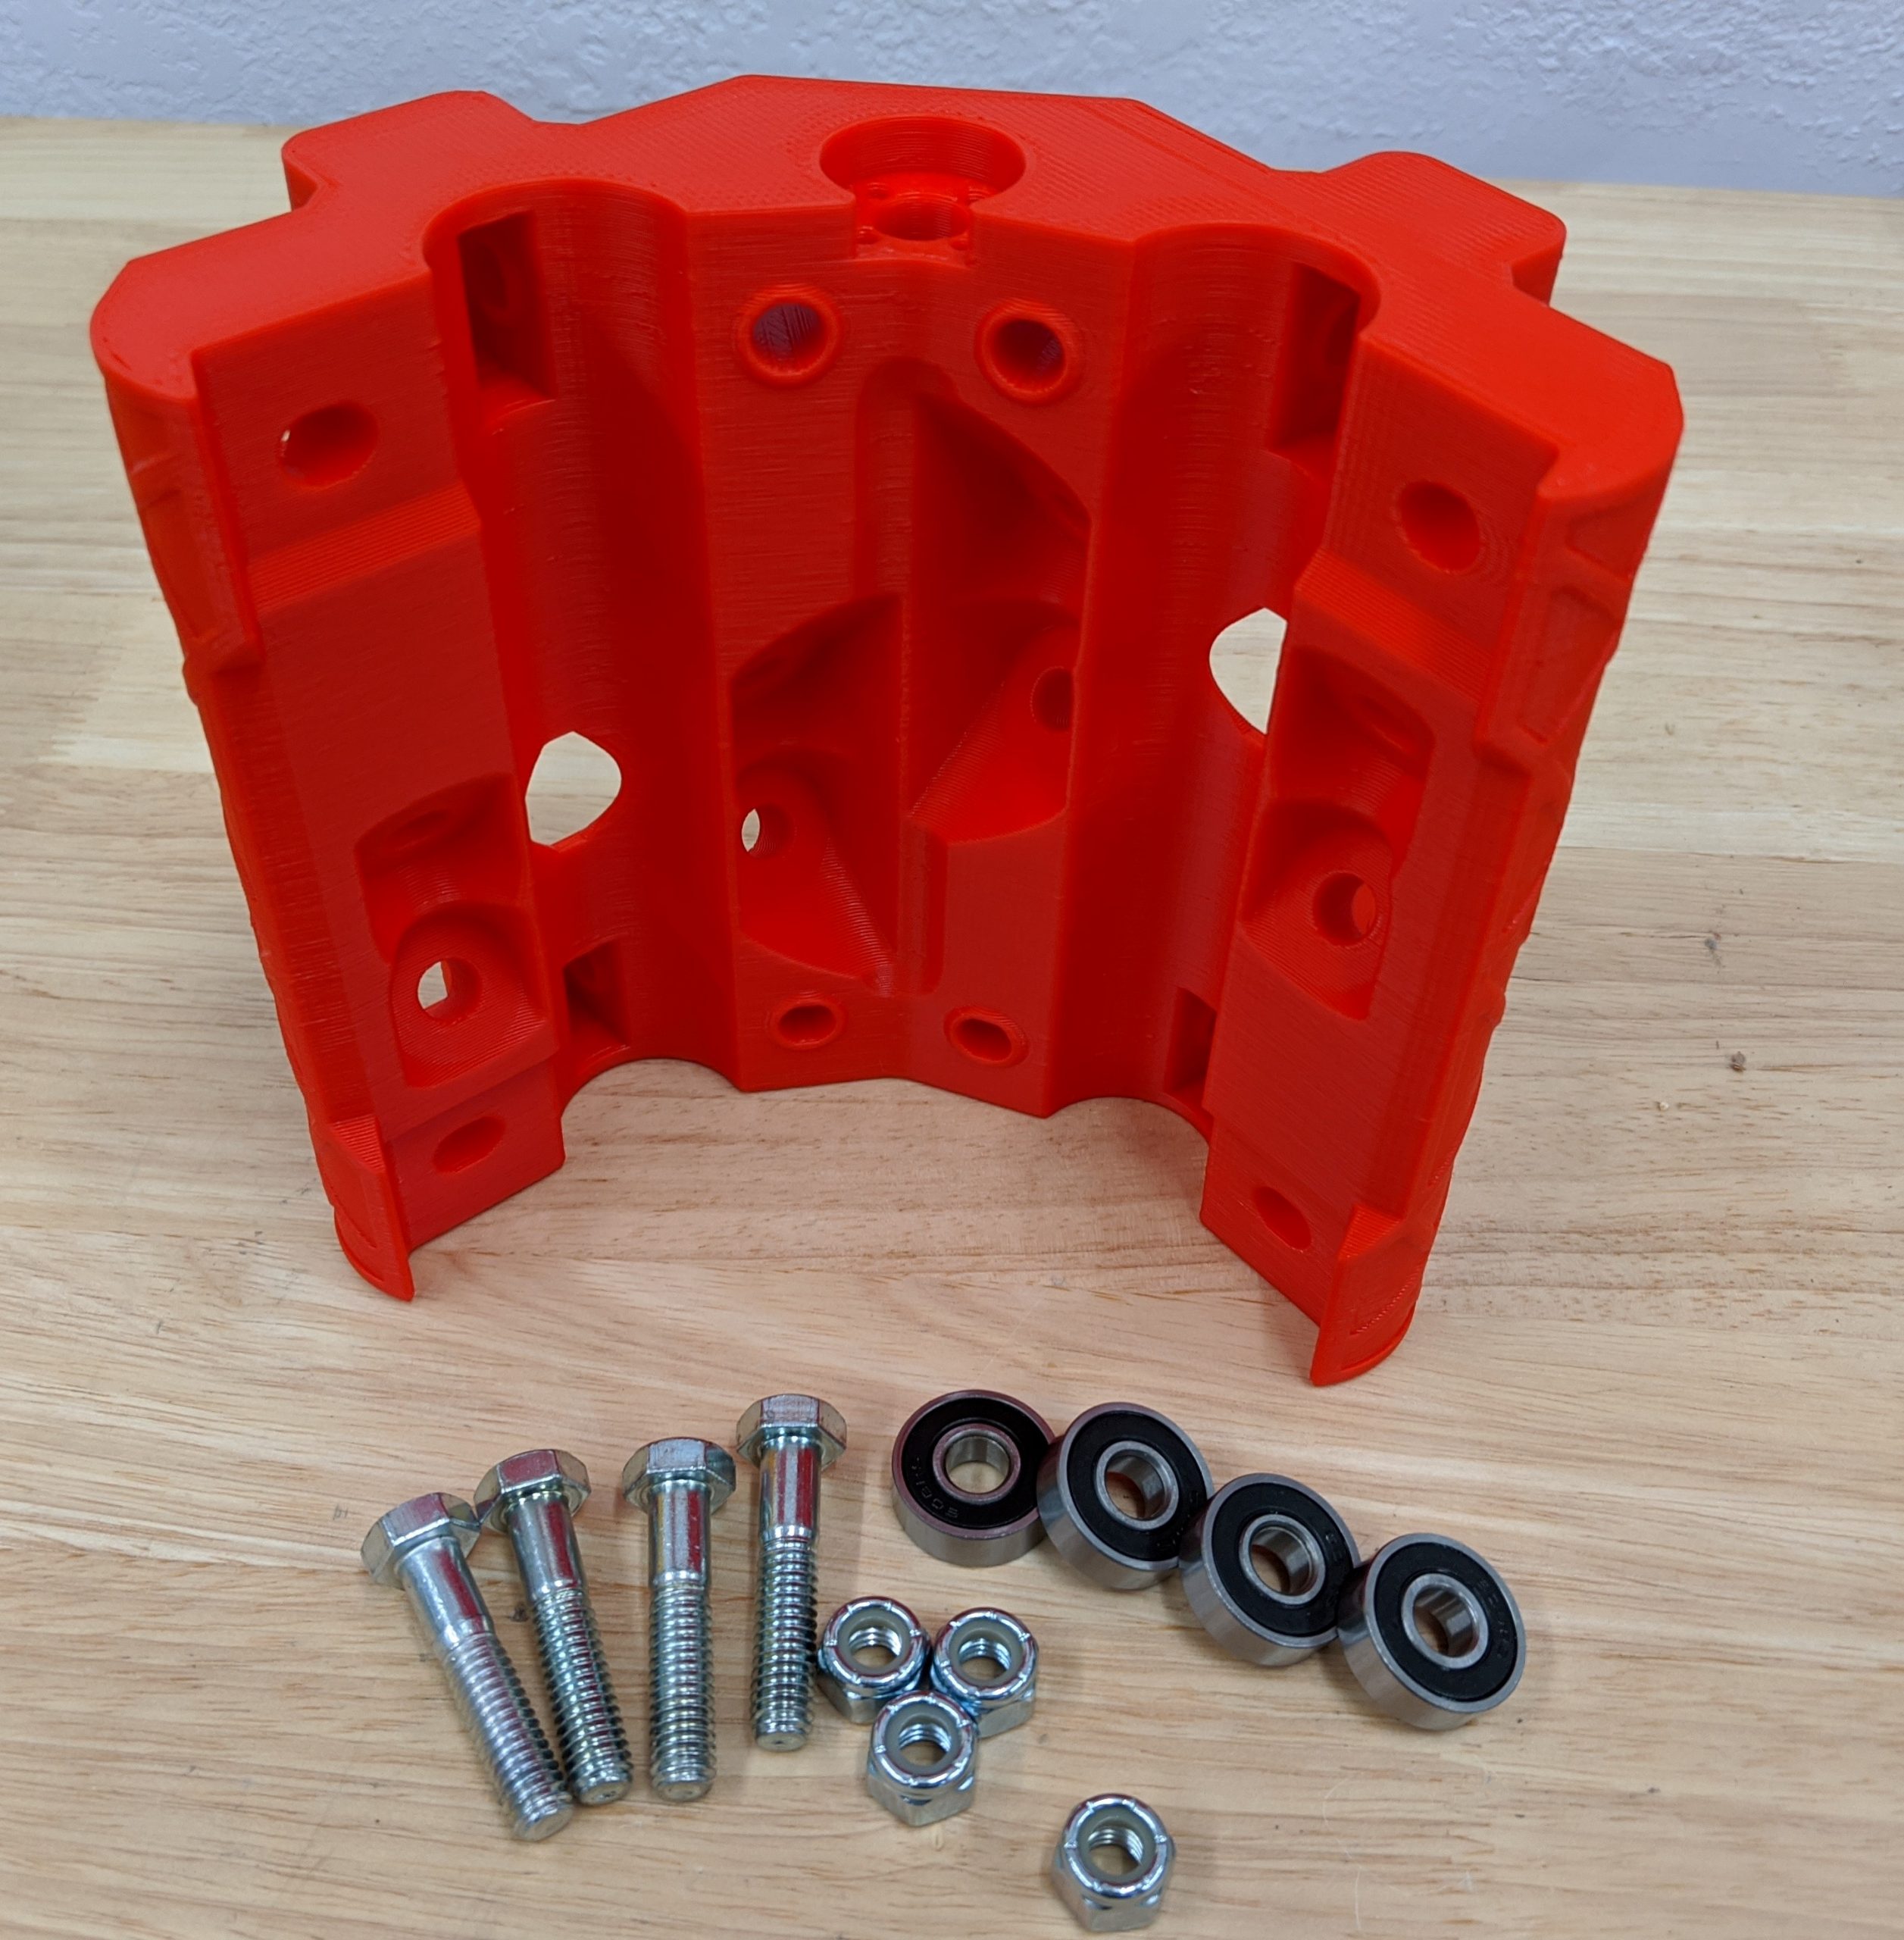
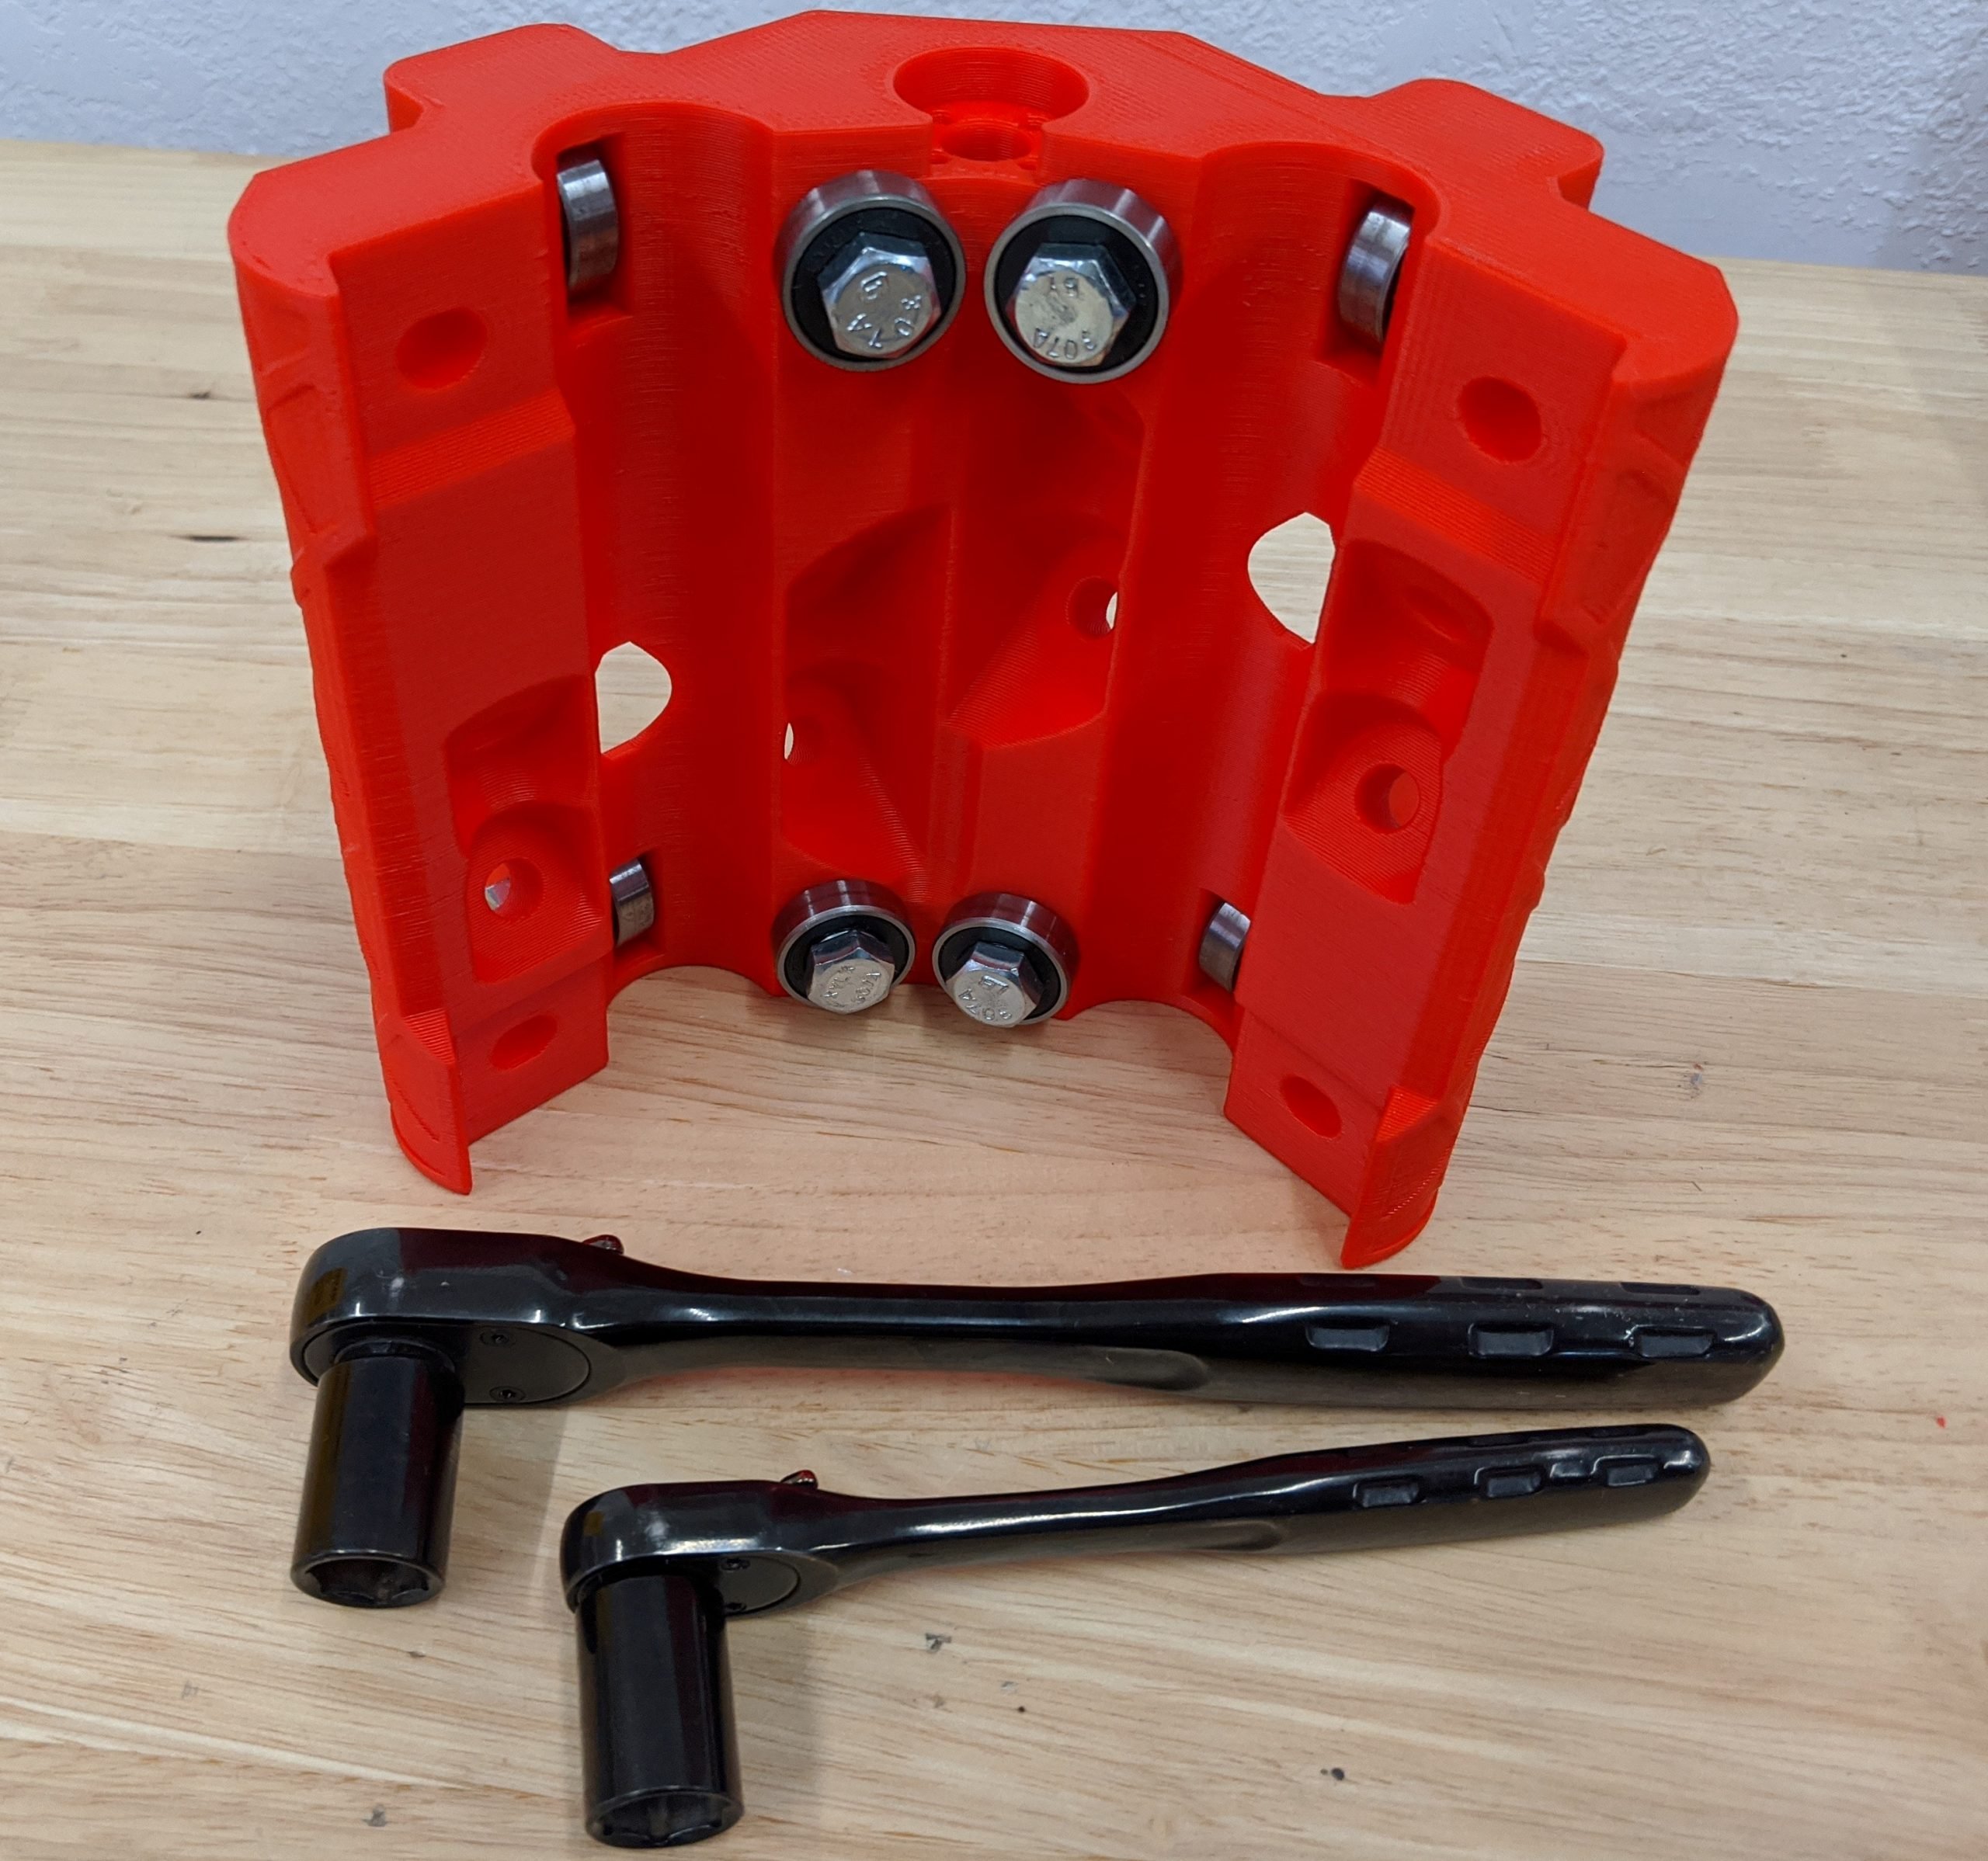
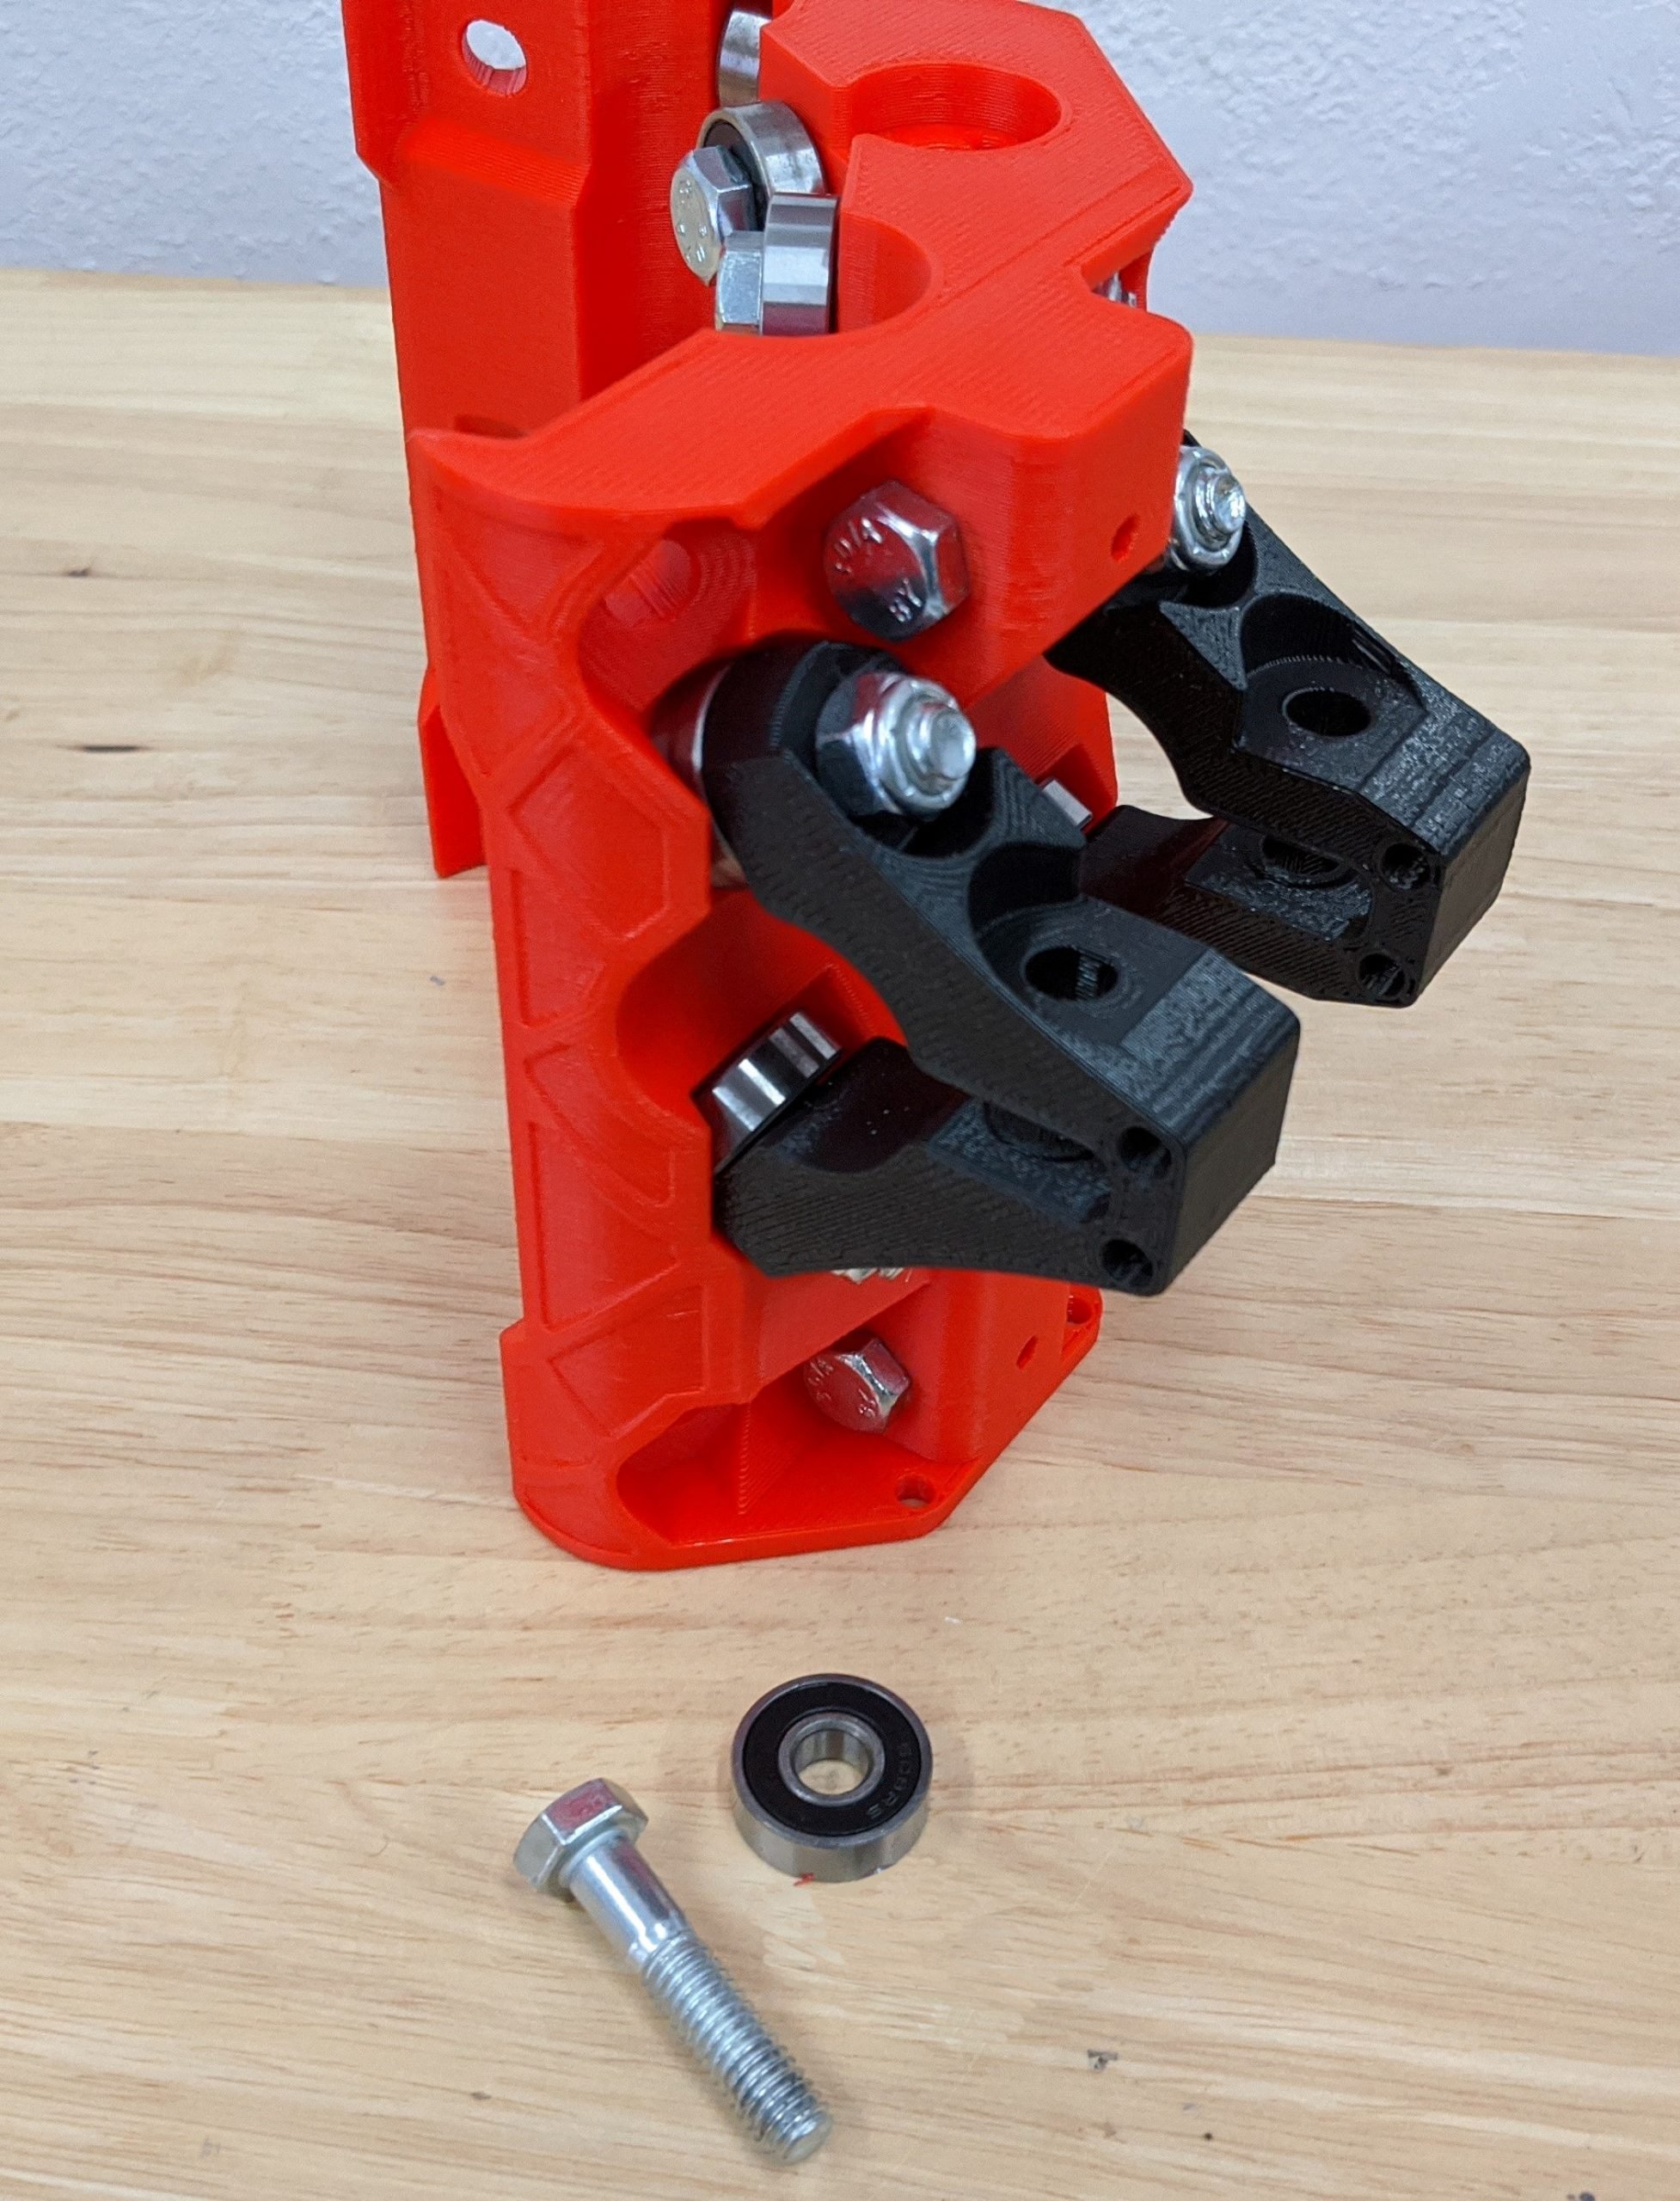
- You will need 4 bolts, nuts, bearings, and the Core printed part
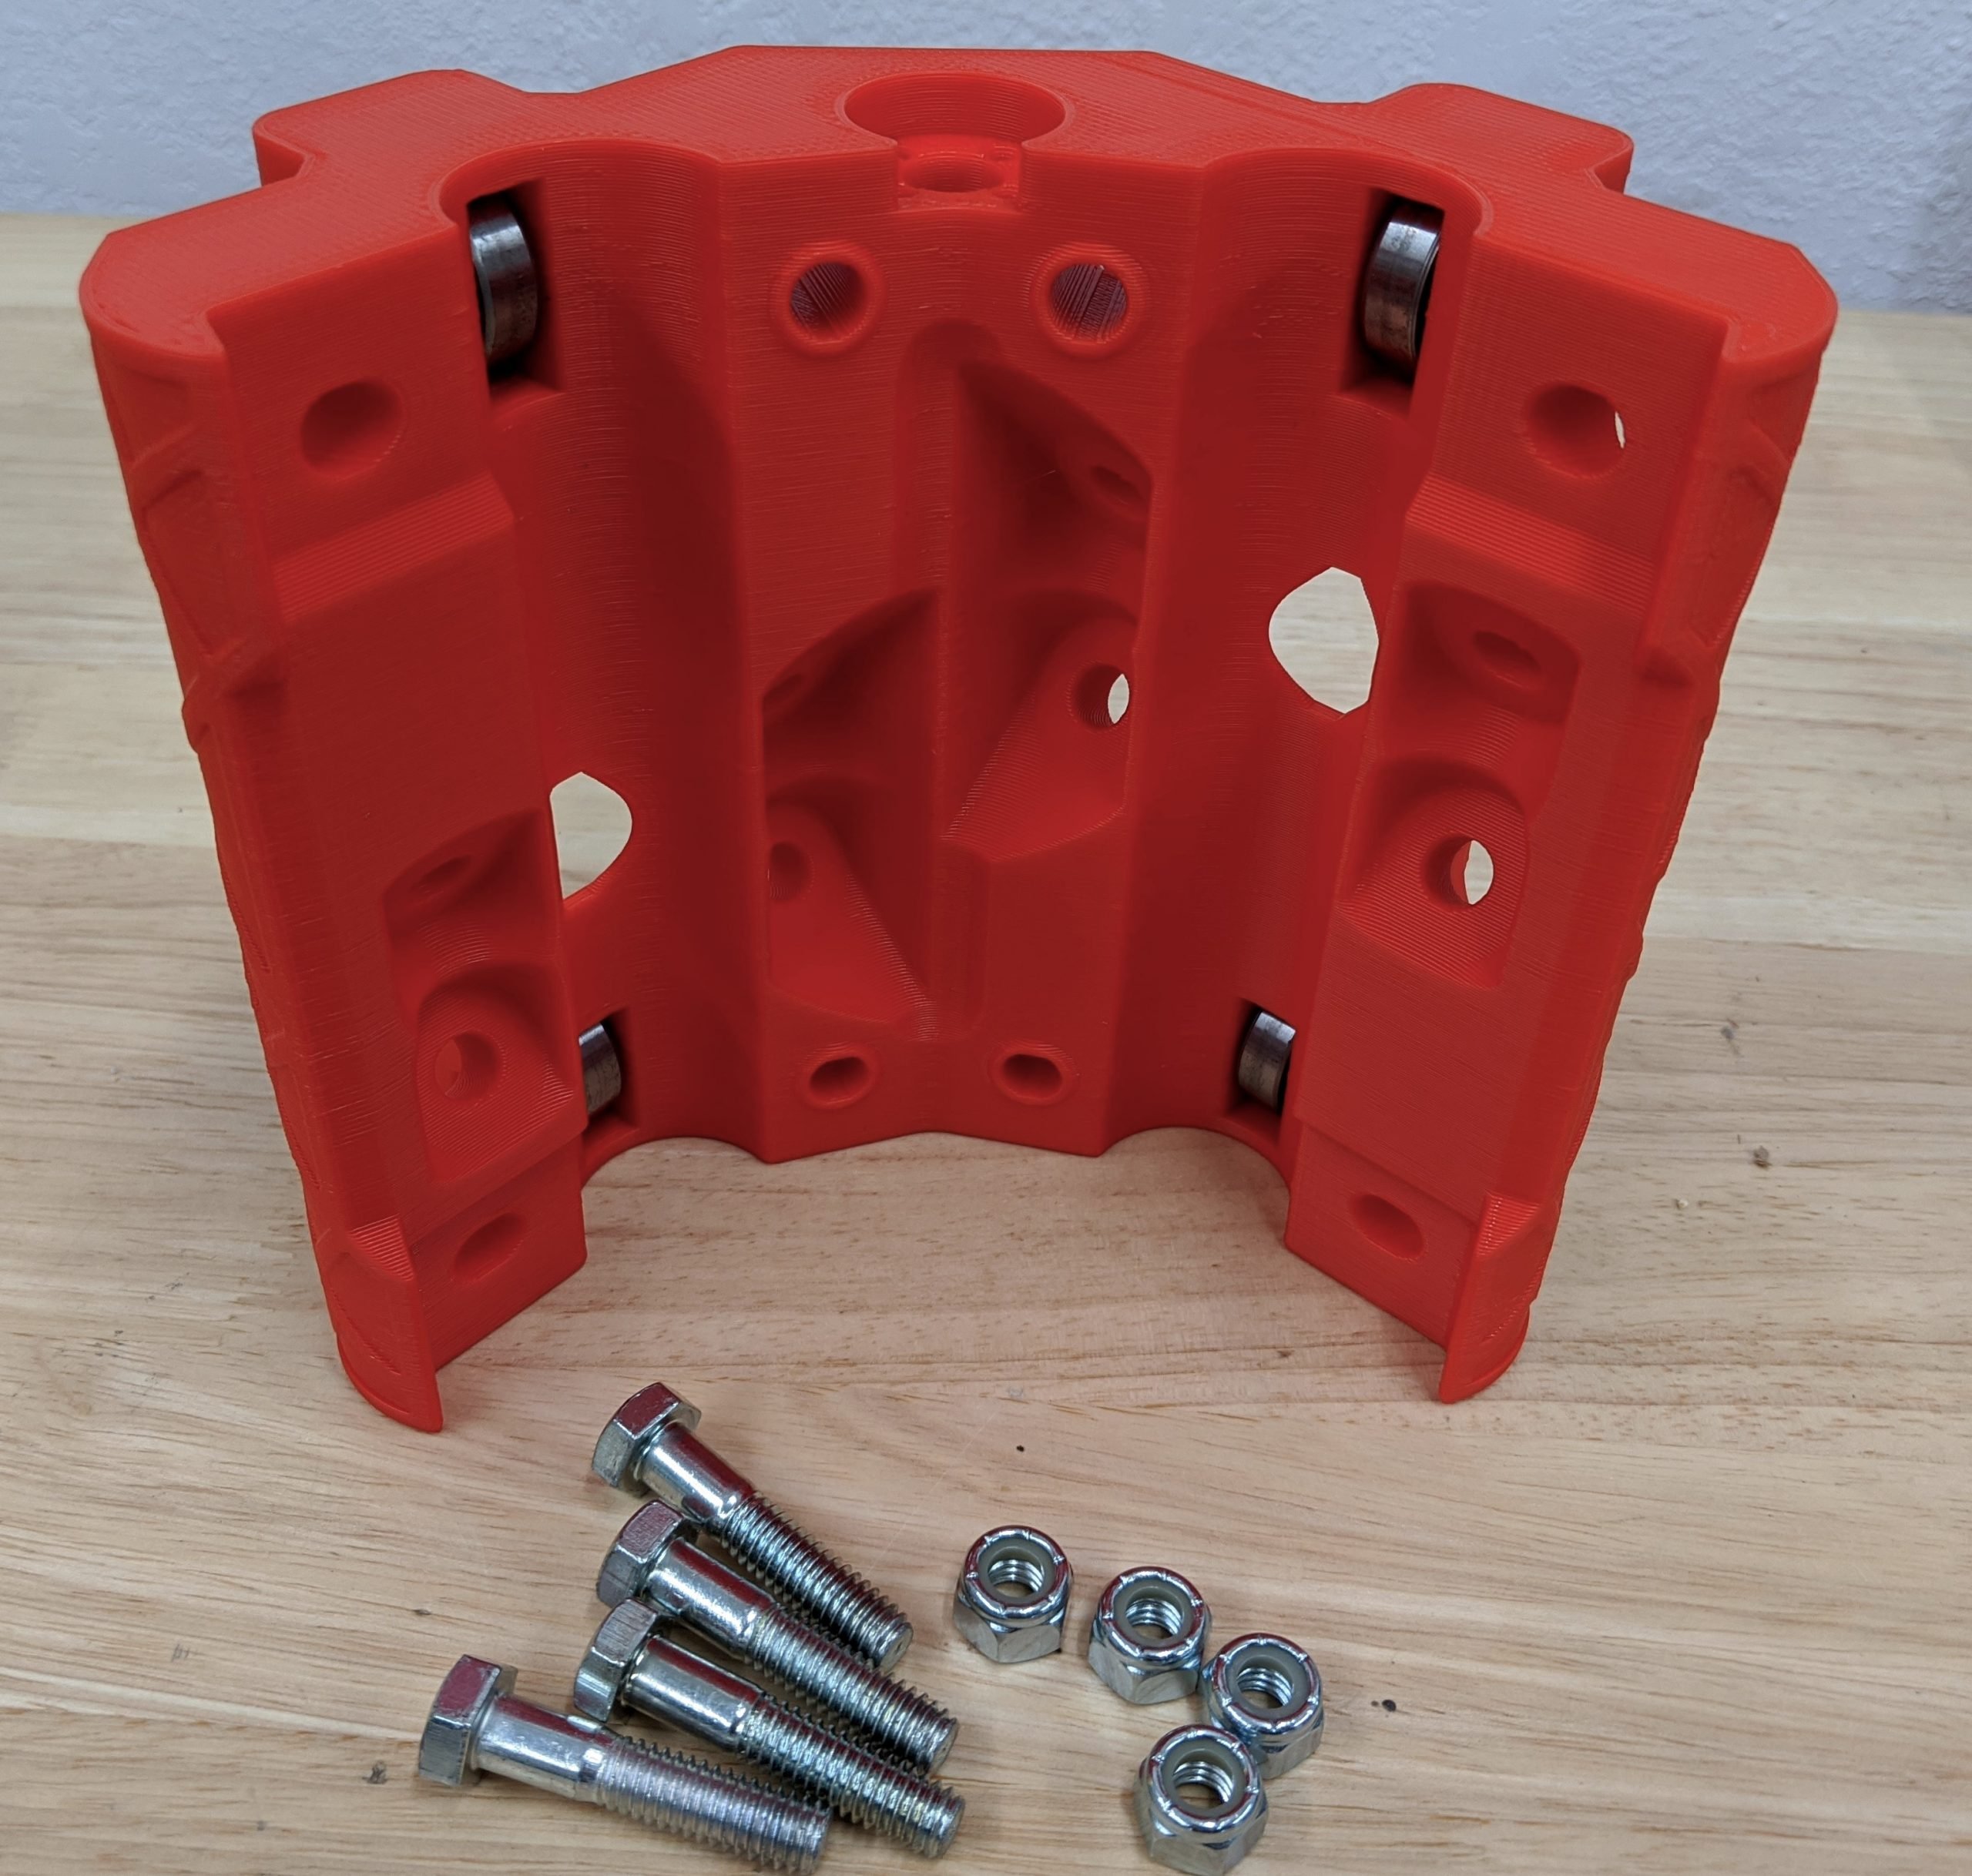
- Snap the bearings into the slots.
- You can line them up and give them a tap with the ratchet handle and they should pop into place.
- This is intentional to add rigidity.
Hint
If you pop the bearings in too far or need to get them out, the rear has a hole for an Allen key to push them back out.
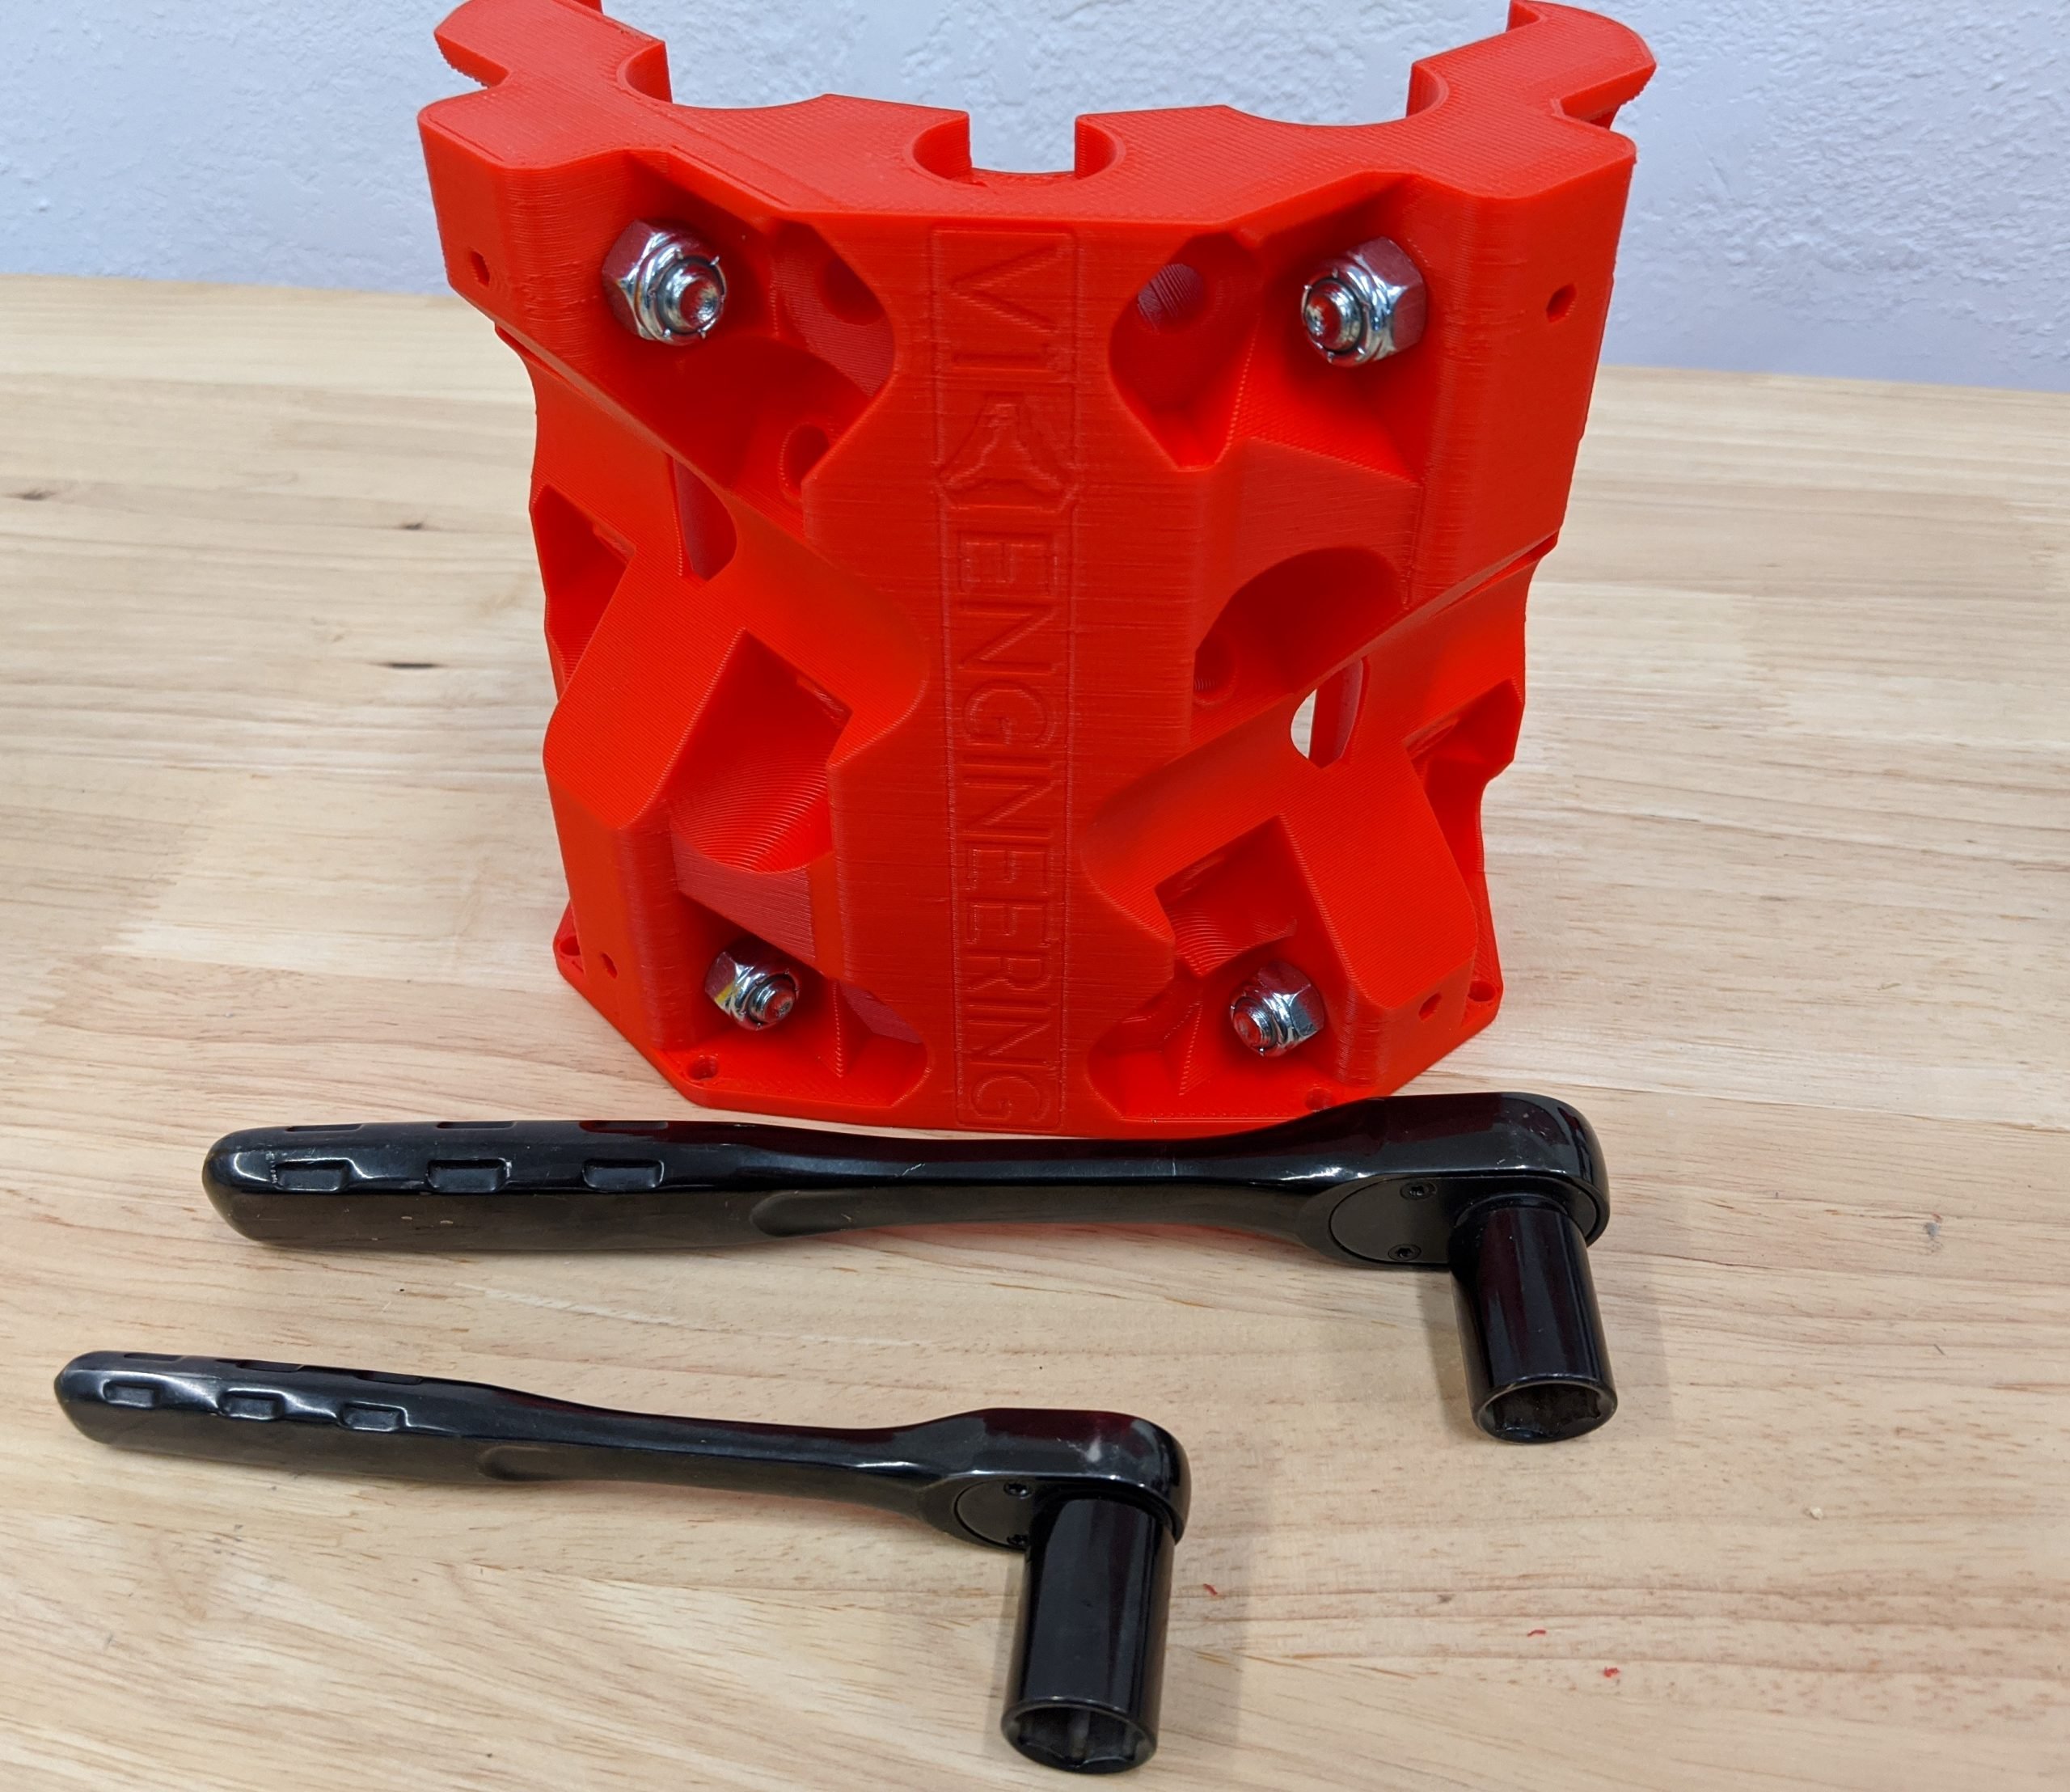
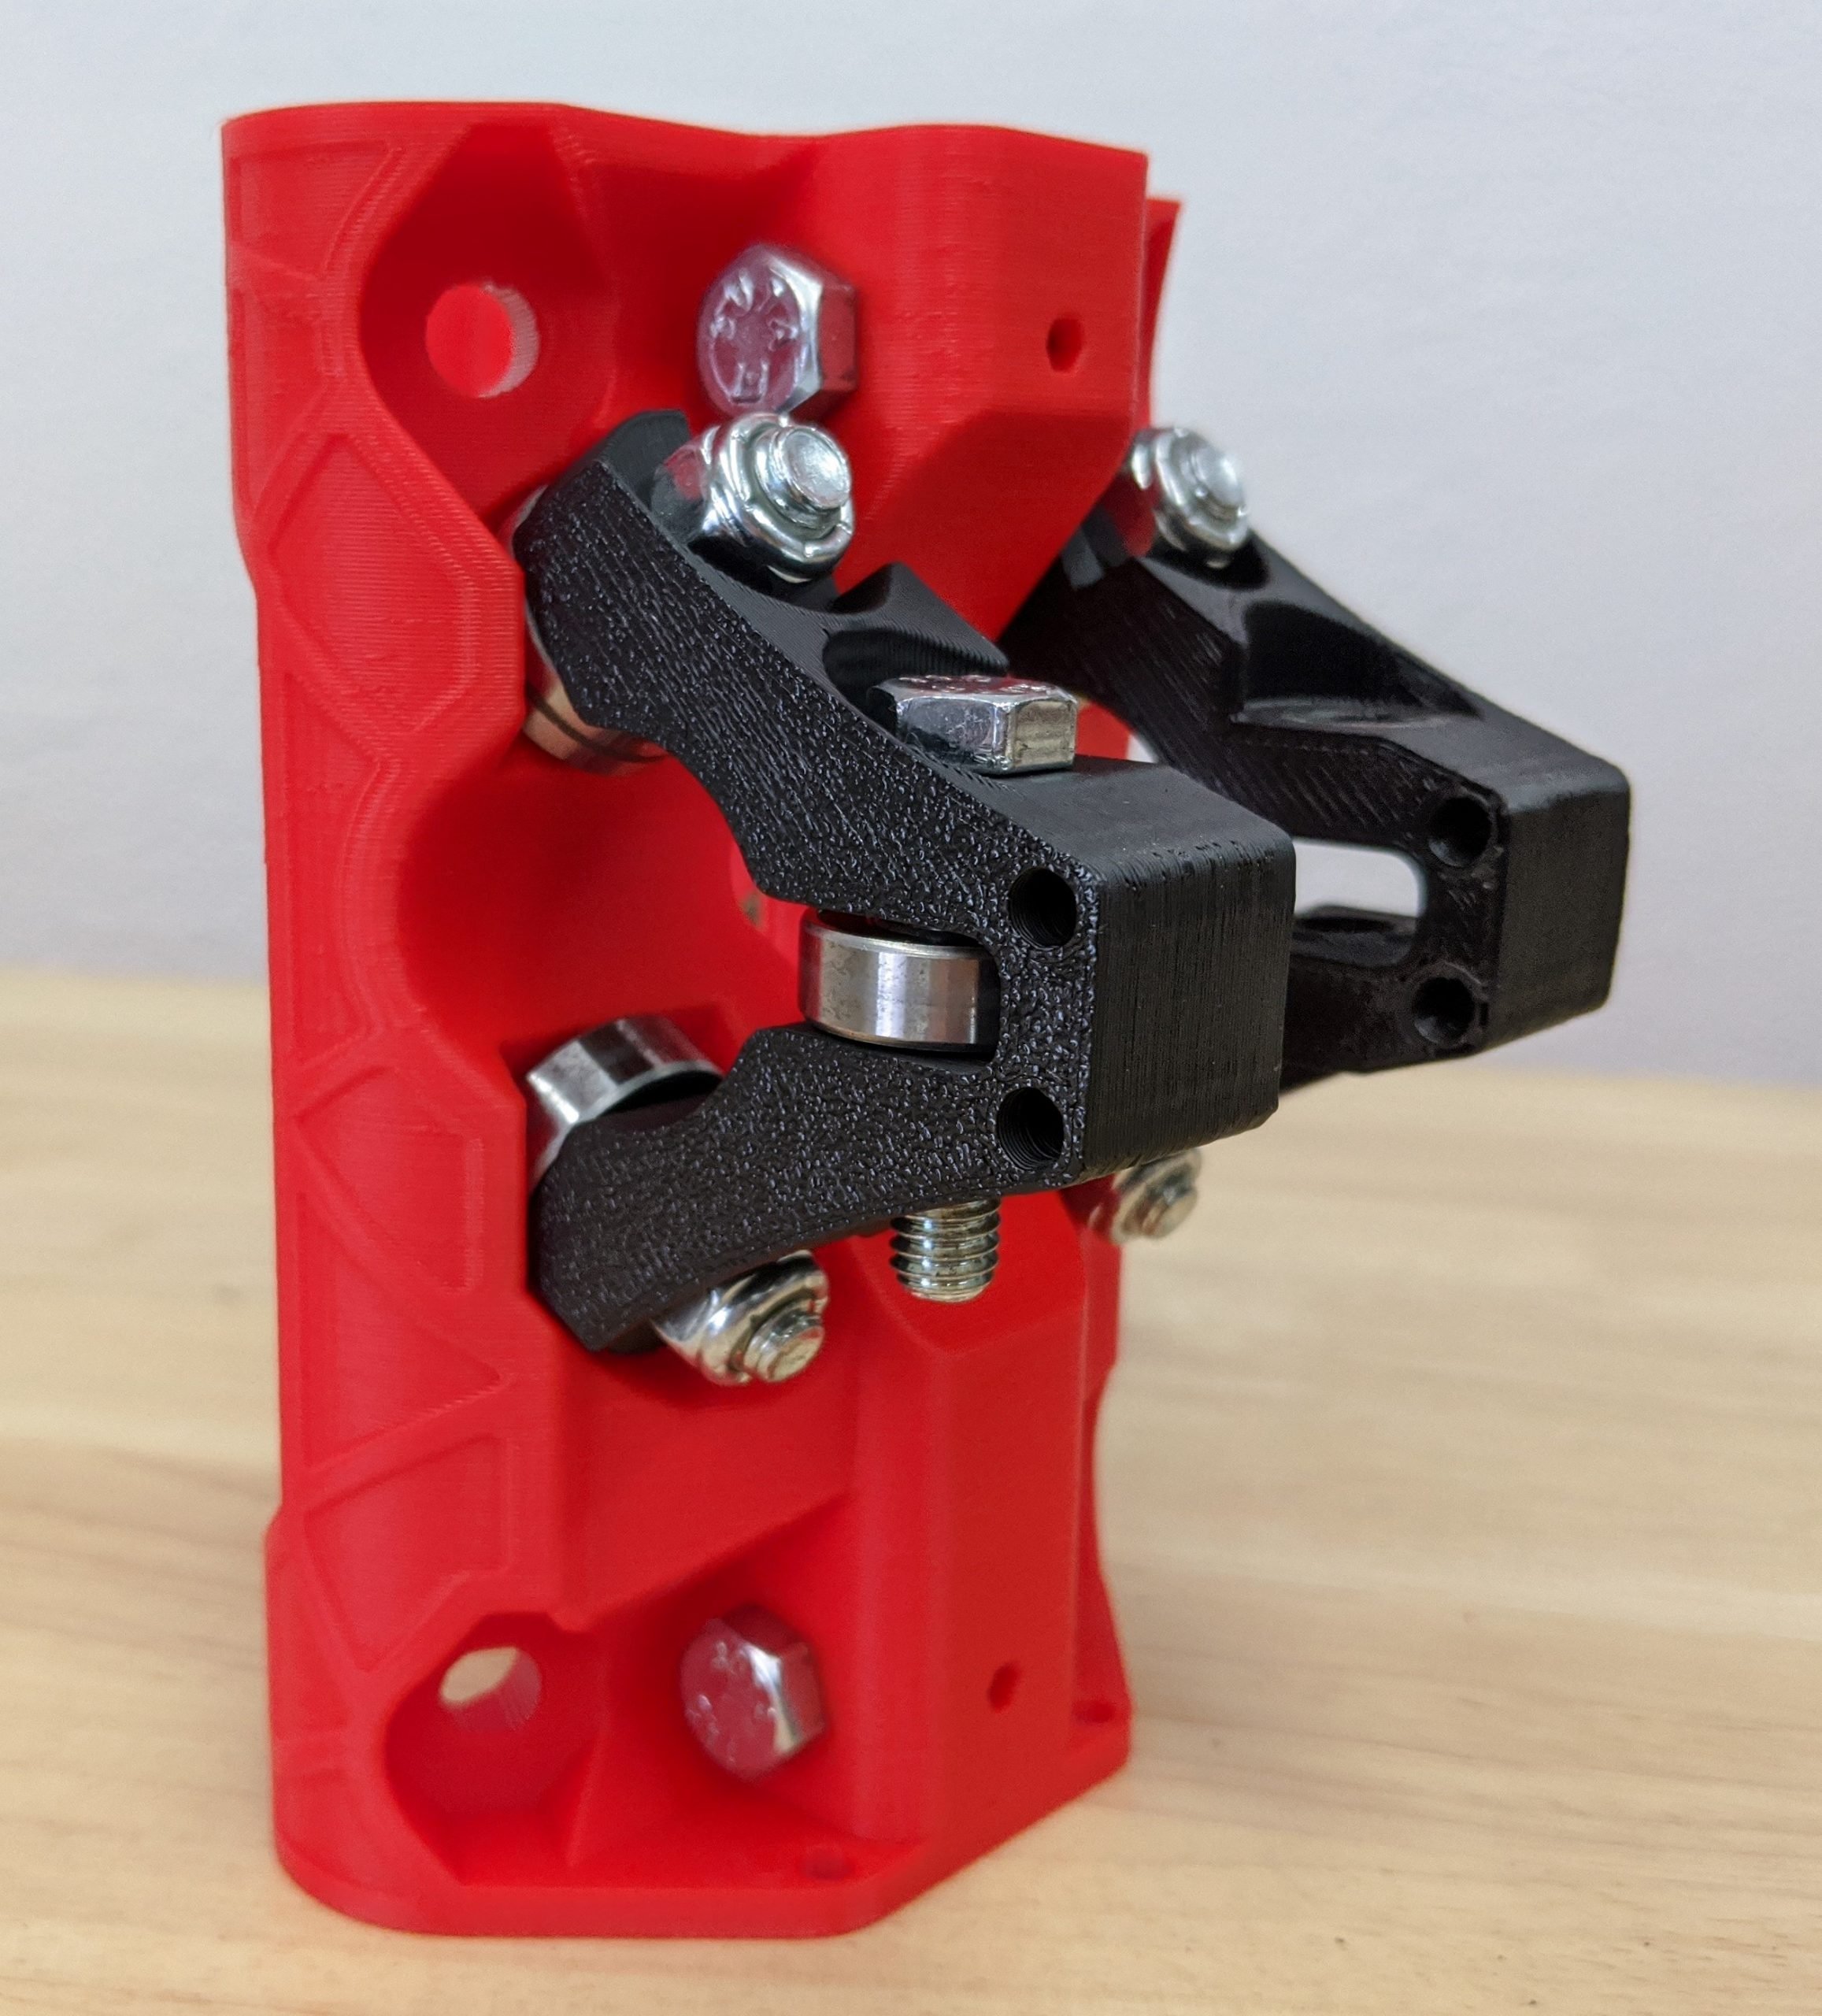
- Paying attention to the direction of the bolt heads, insert the bolts and nuts.
- Snug these bolts up, just 1/16th of a turn past seated (touching the plastic on both sides).
Caution
Ratchets are dangerous here. We only need 7in/lbs or so. It is next to nothing. Loose is better than too tight. That is true for all of these steps.
Inner Z Bearings
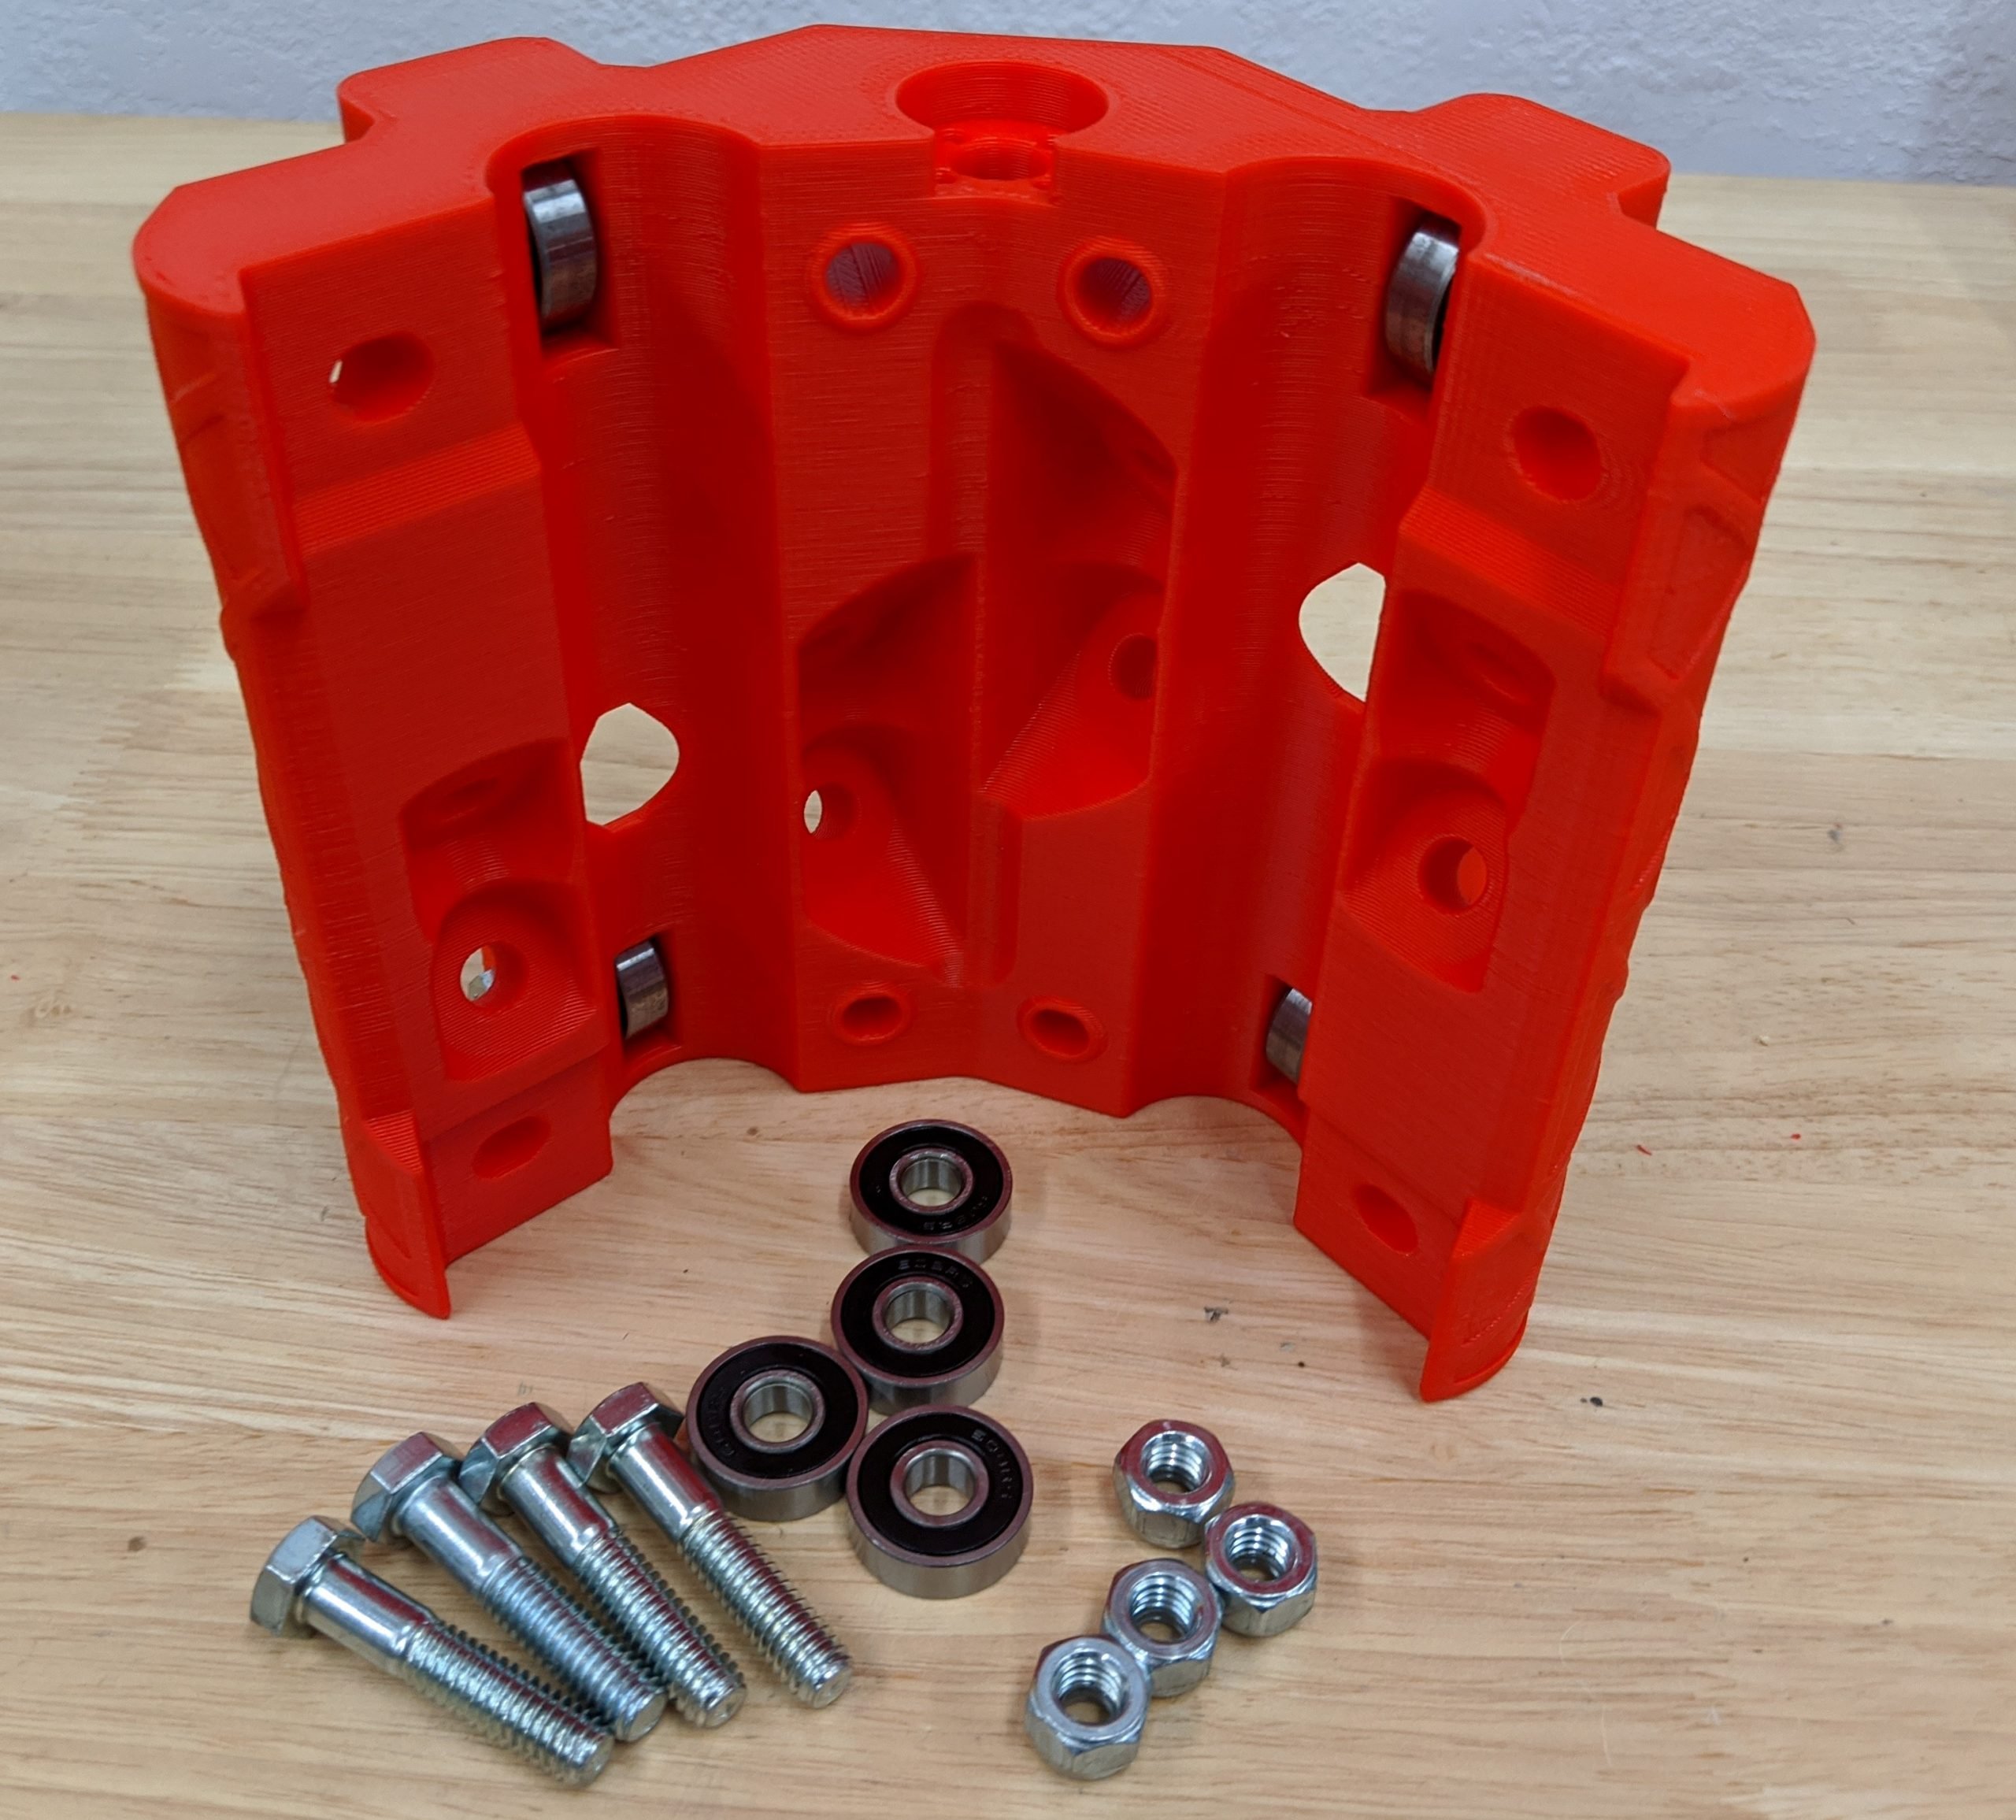
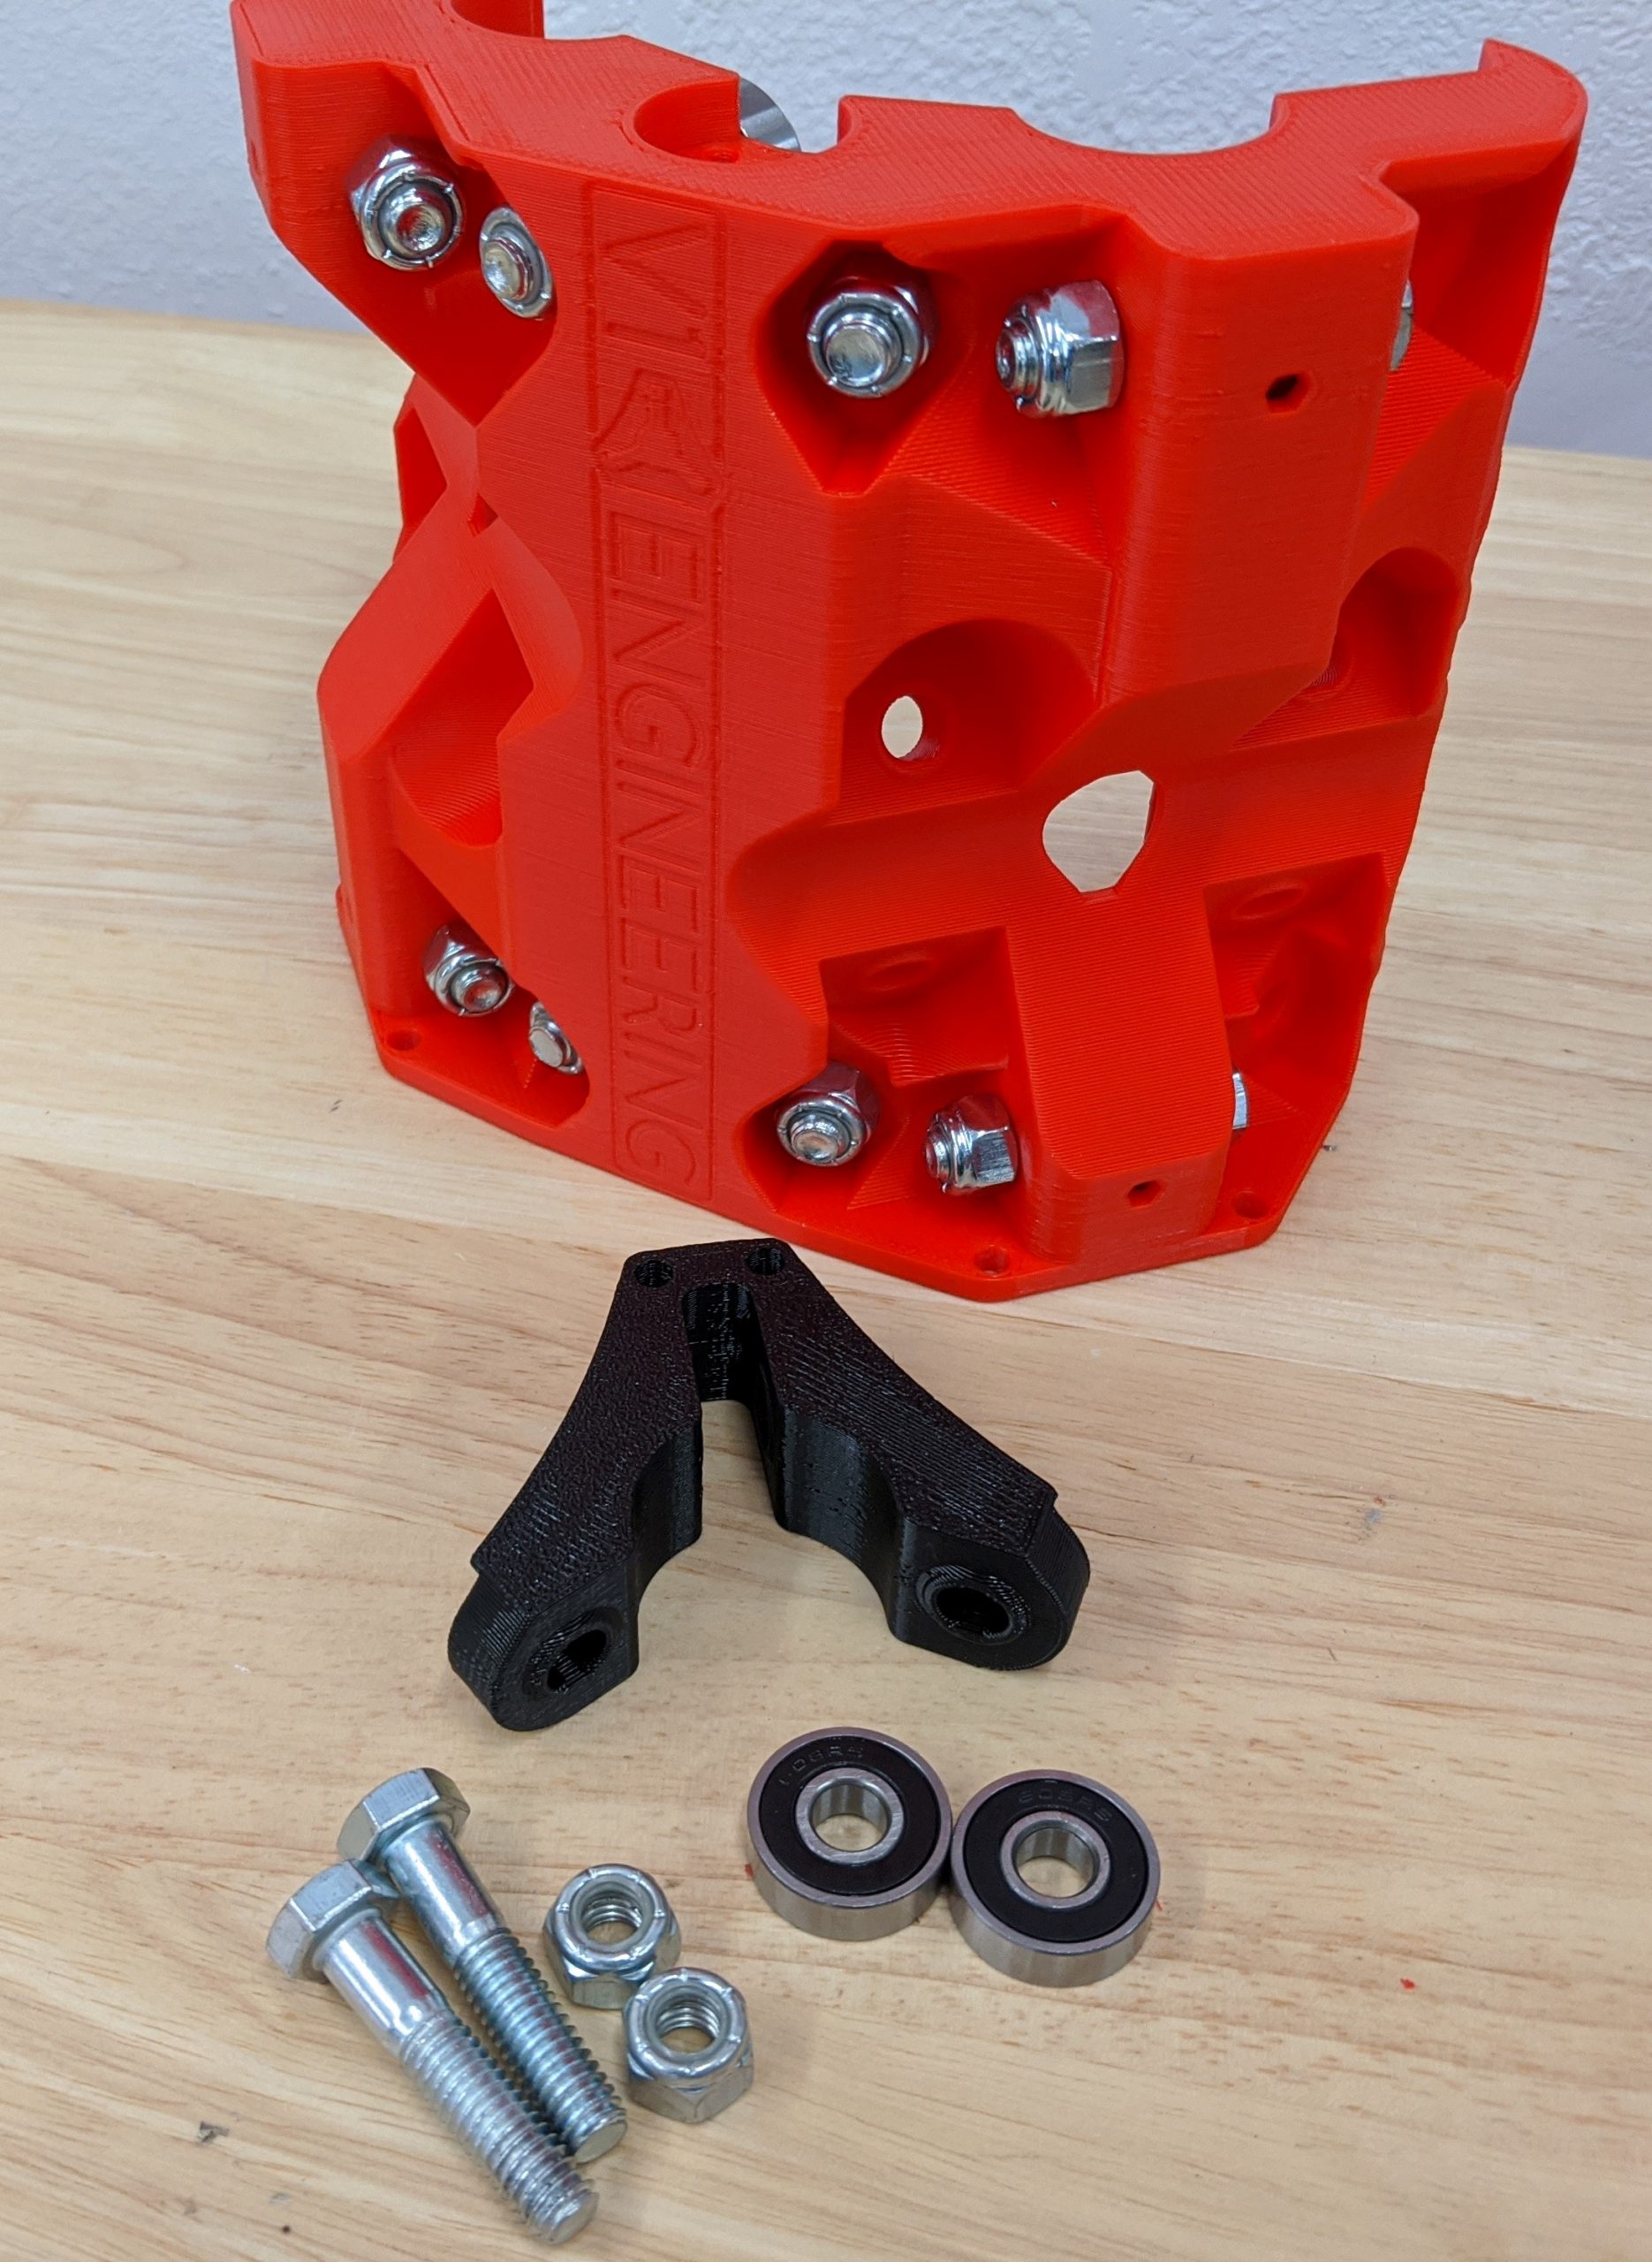
- 4 more bolts, nuts, and bearings
- Attach all 4 bearings, paying attention to the direction of the bolt heads (for Z clearance).
- Snug these up, 7in/lbs, just past seated.
Core Clamps
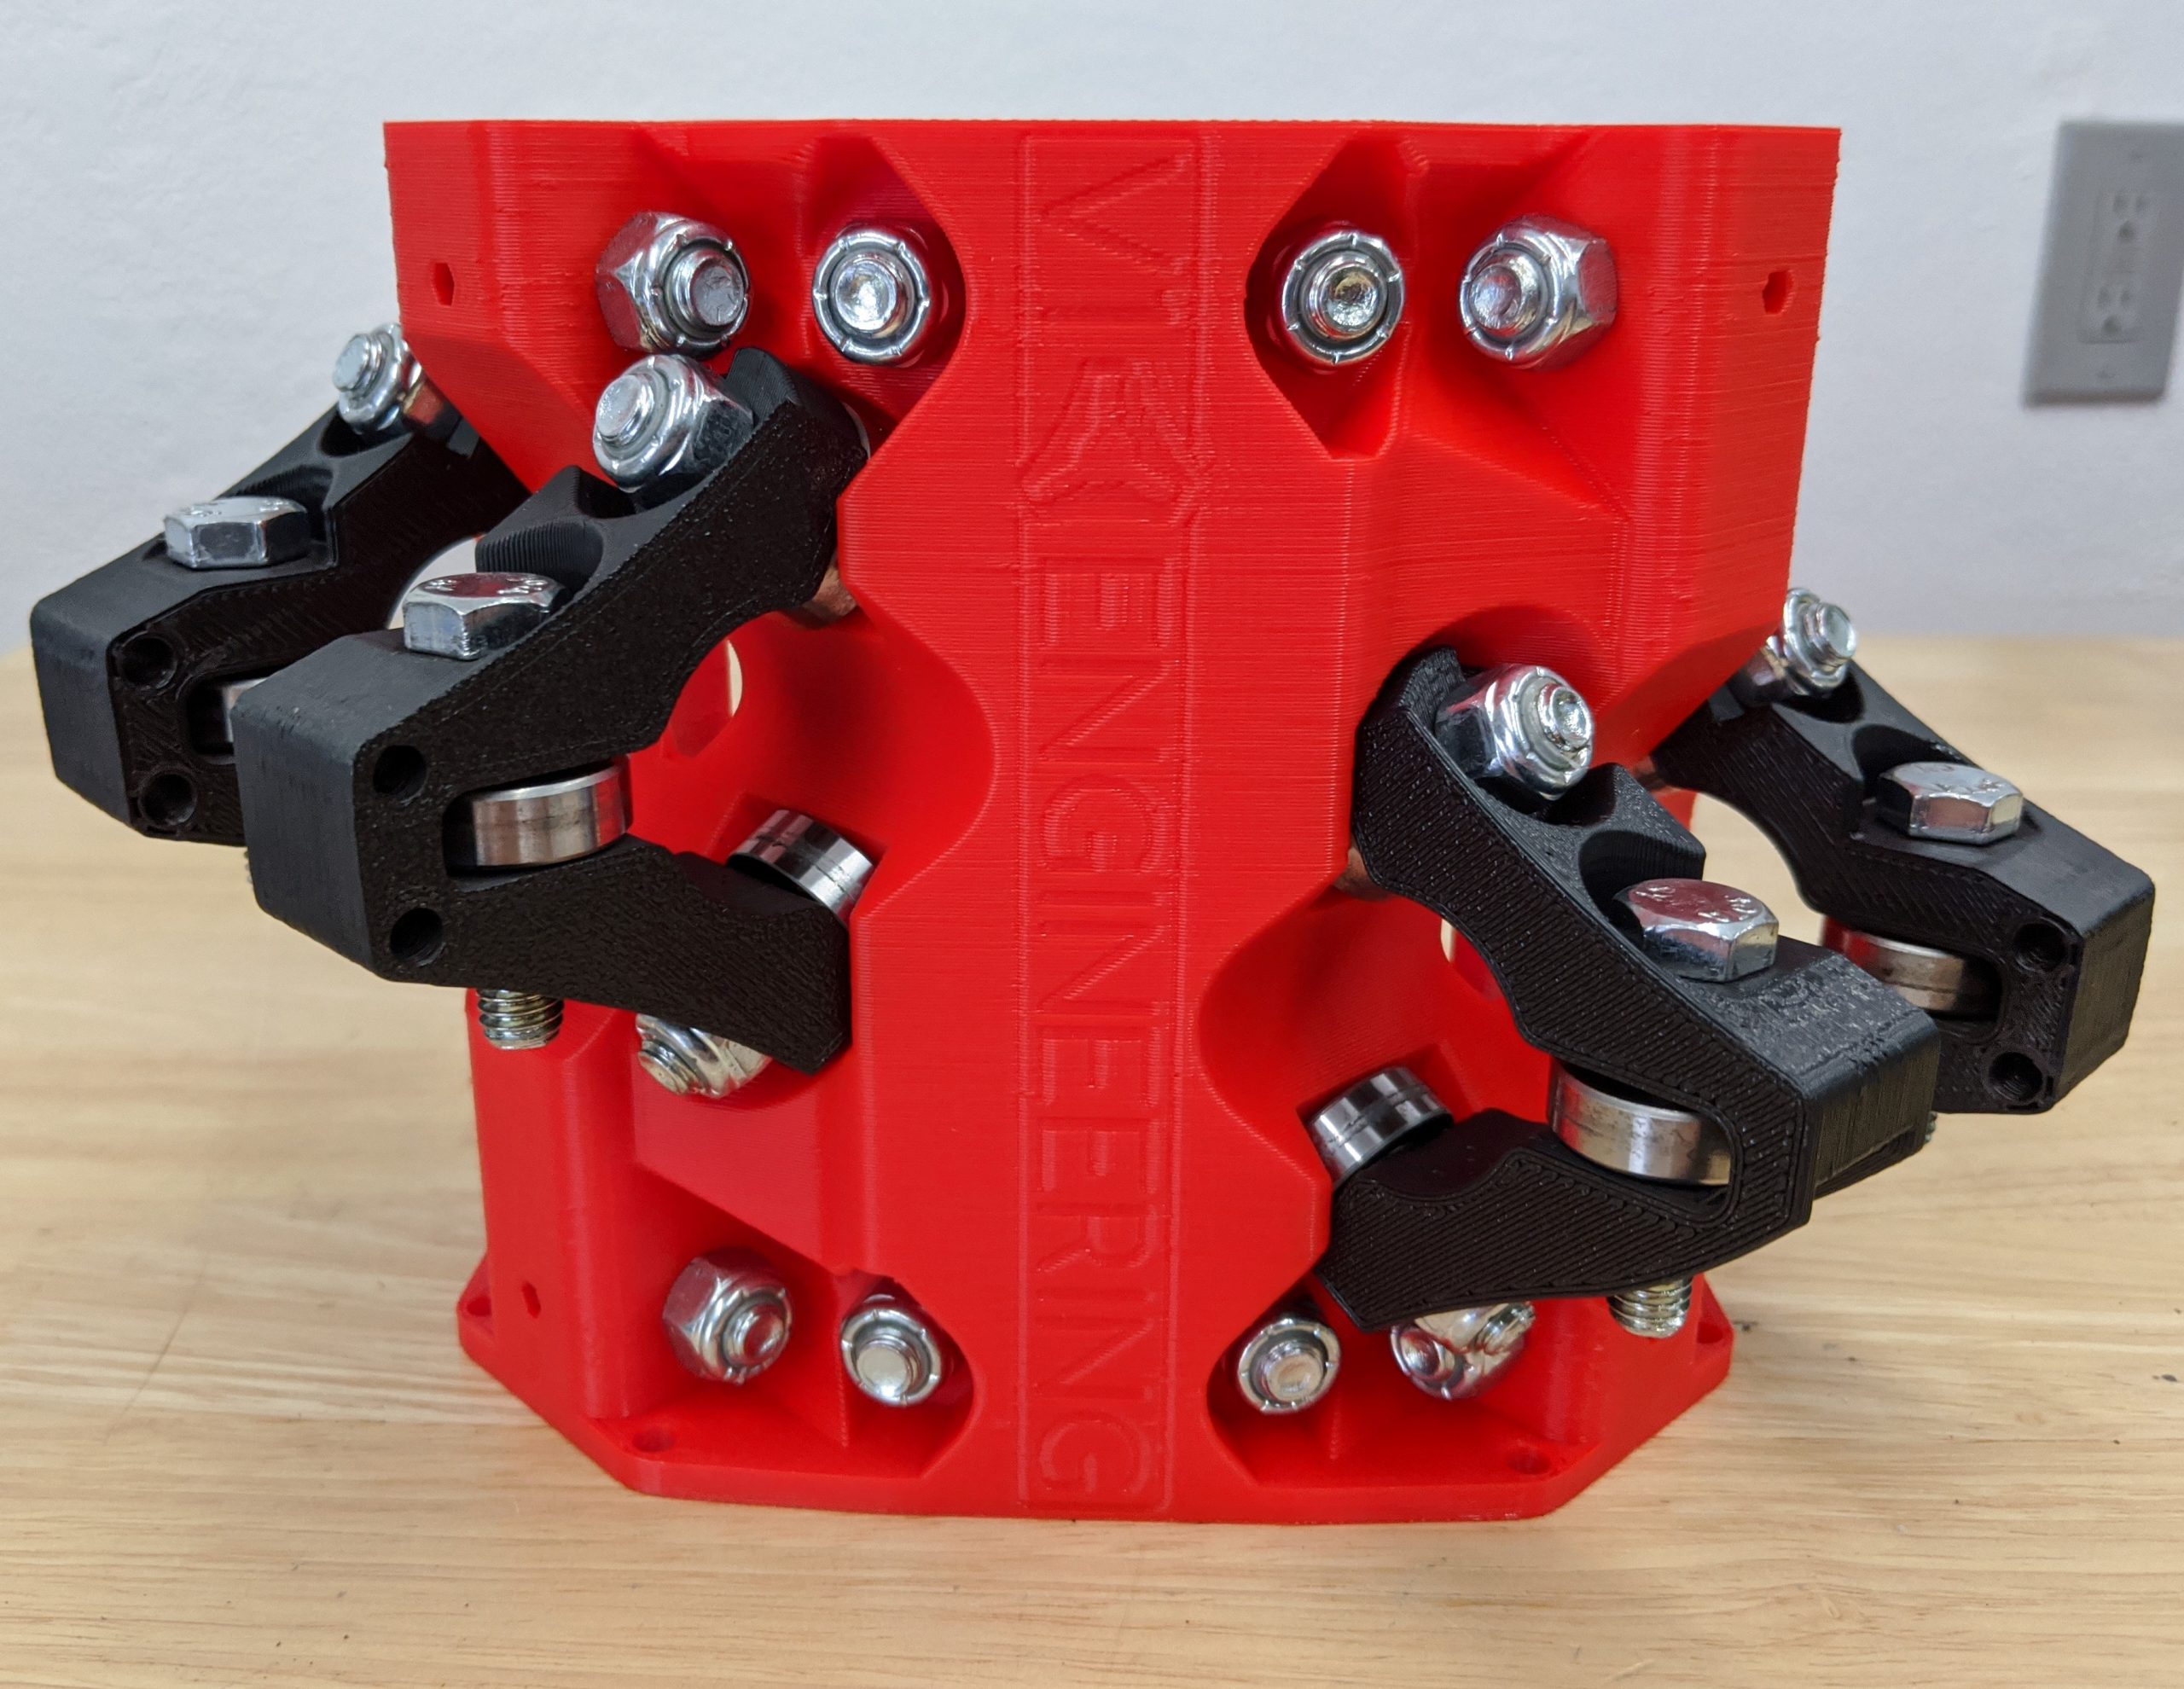
- For each Core Clamp printed part you will also need 2 bolts, 2 nuts, and 2 bearings.
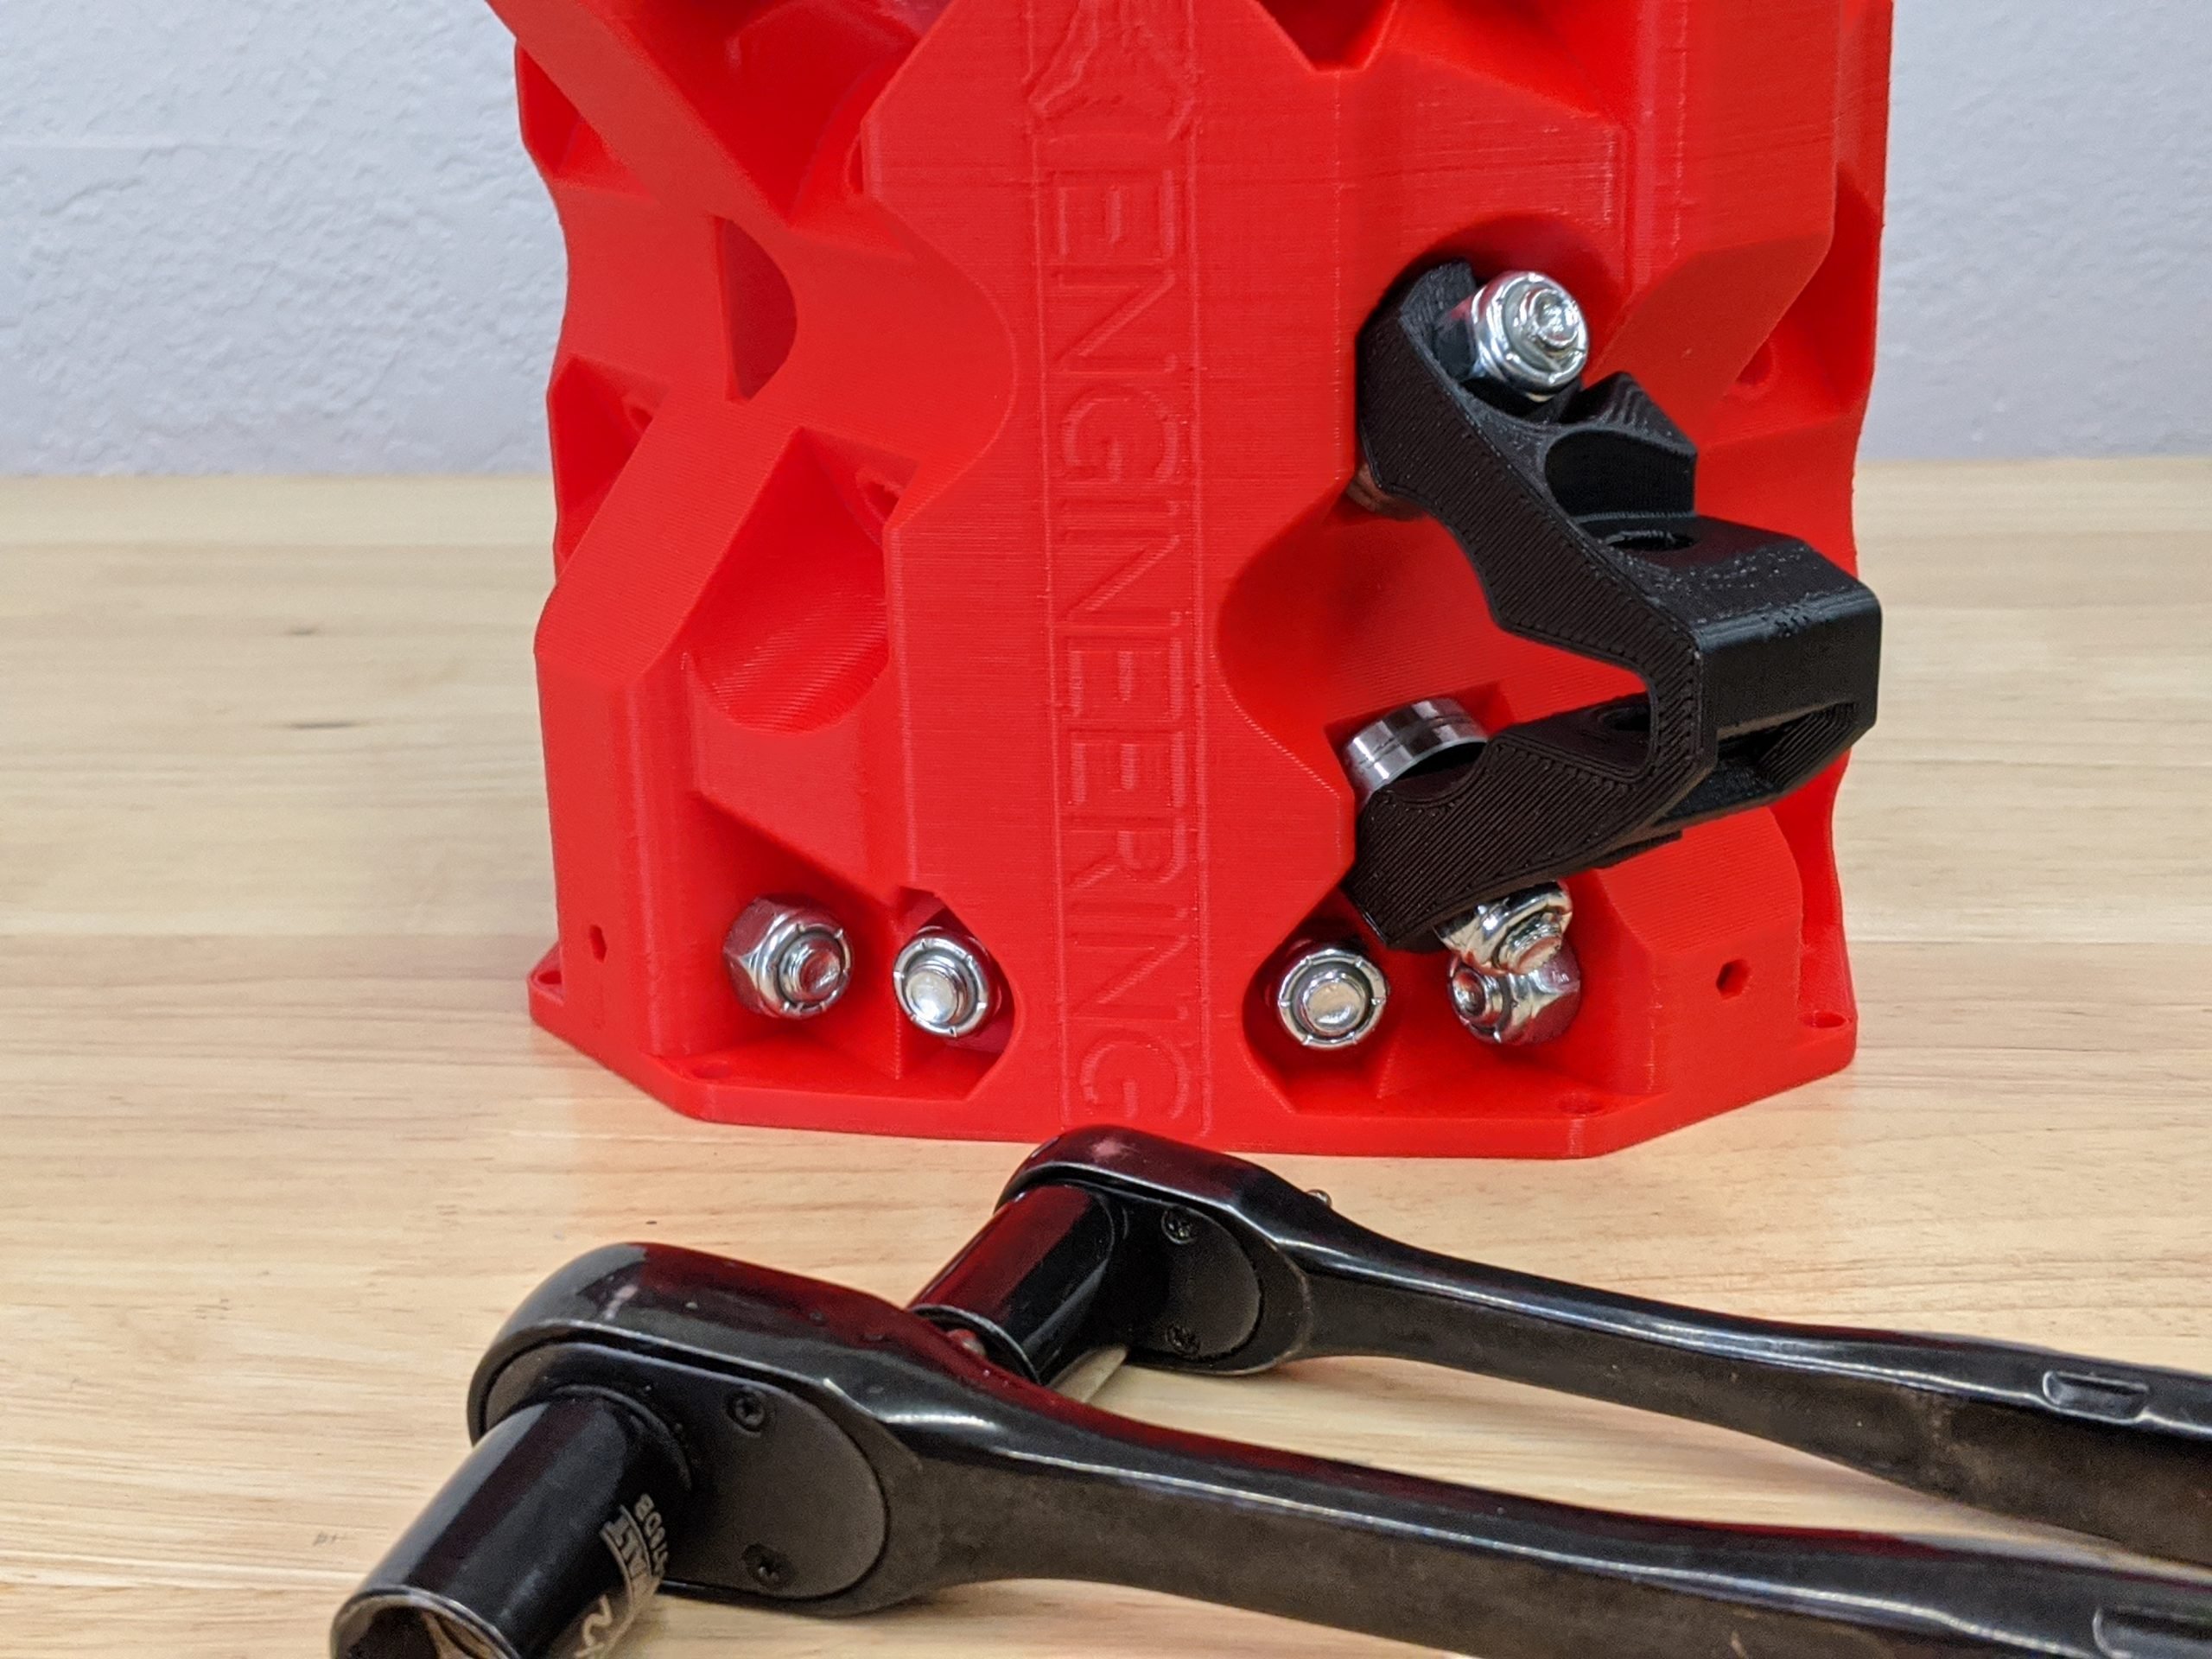
- The bolt head direction and the part orientation are easy to miss. Pay attention to the pictures to make sure you don’t have clearance issues later.
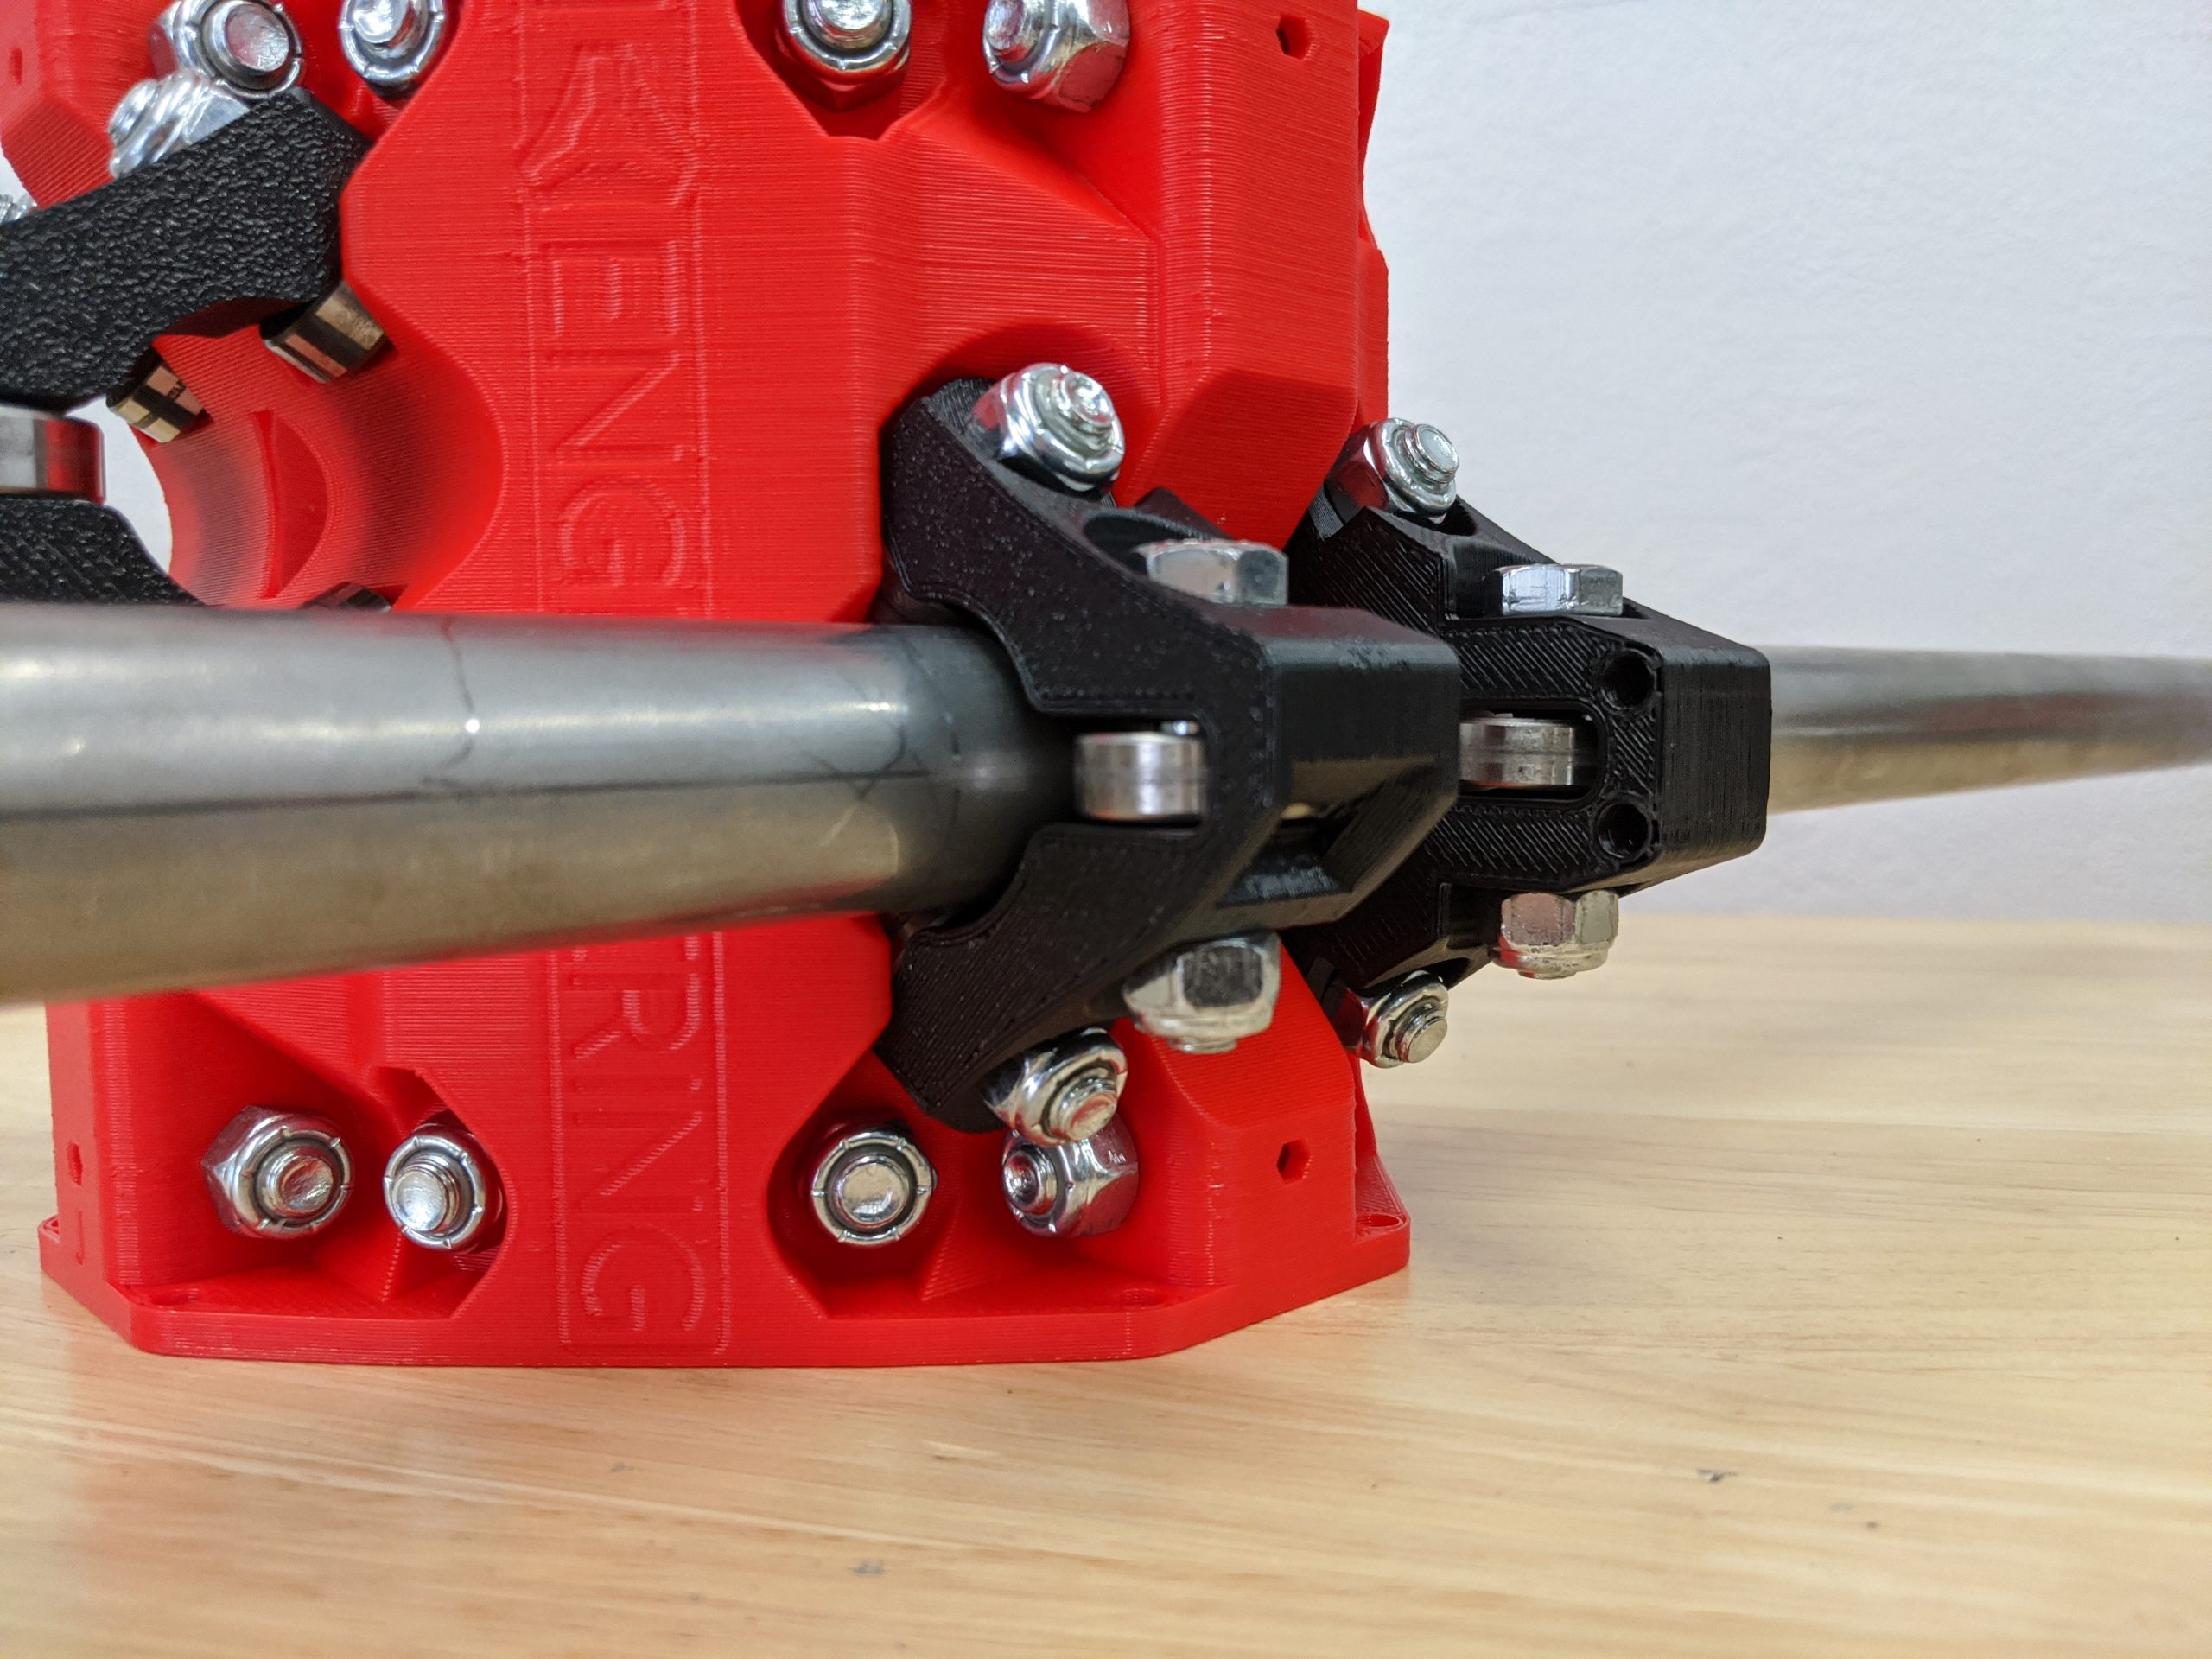
- This first one is the Core ClampY.
- The flat side faces towards the logo and needs to be in this location.
- The Core ClampY is specifically made to clear a bolt head on the Truck.
- Two bearings are at an angle between the Core and Core Clamp. Insert the top bearing and bolt first, then the bottom.
Note
Don’t miss these two bearings.
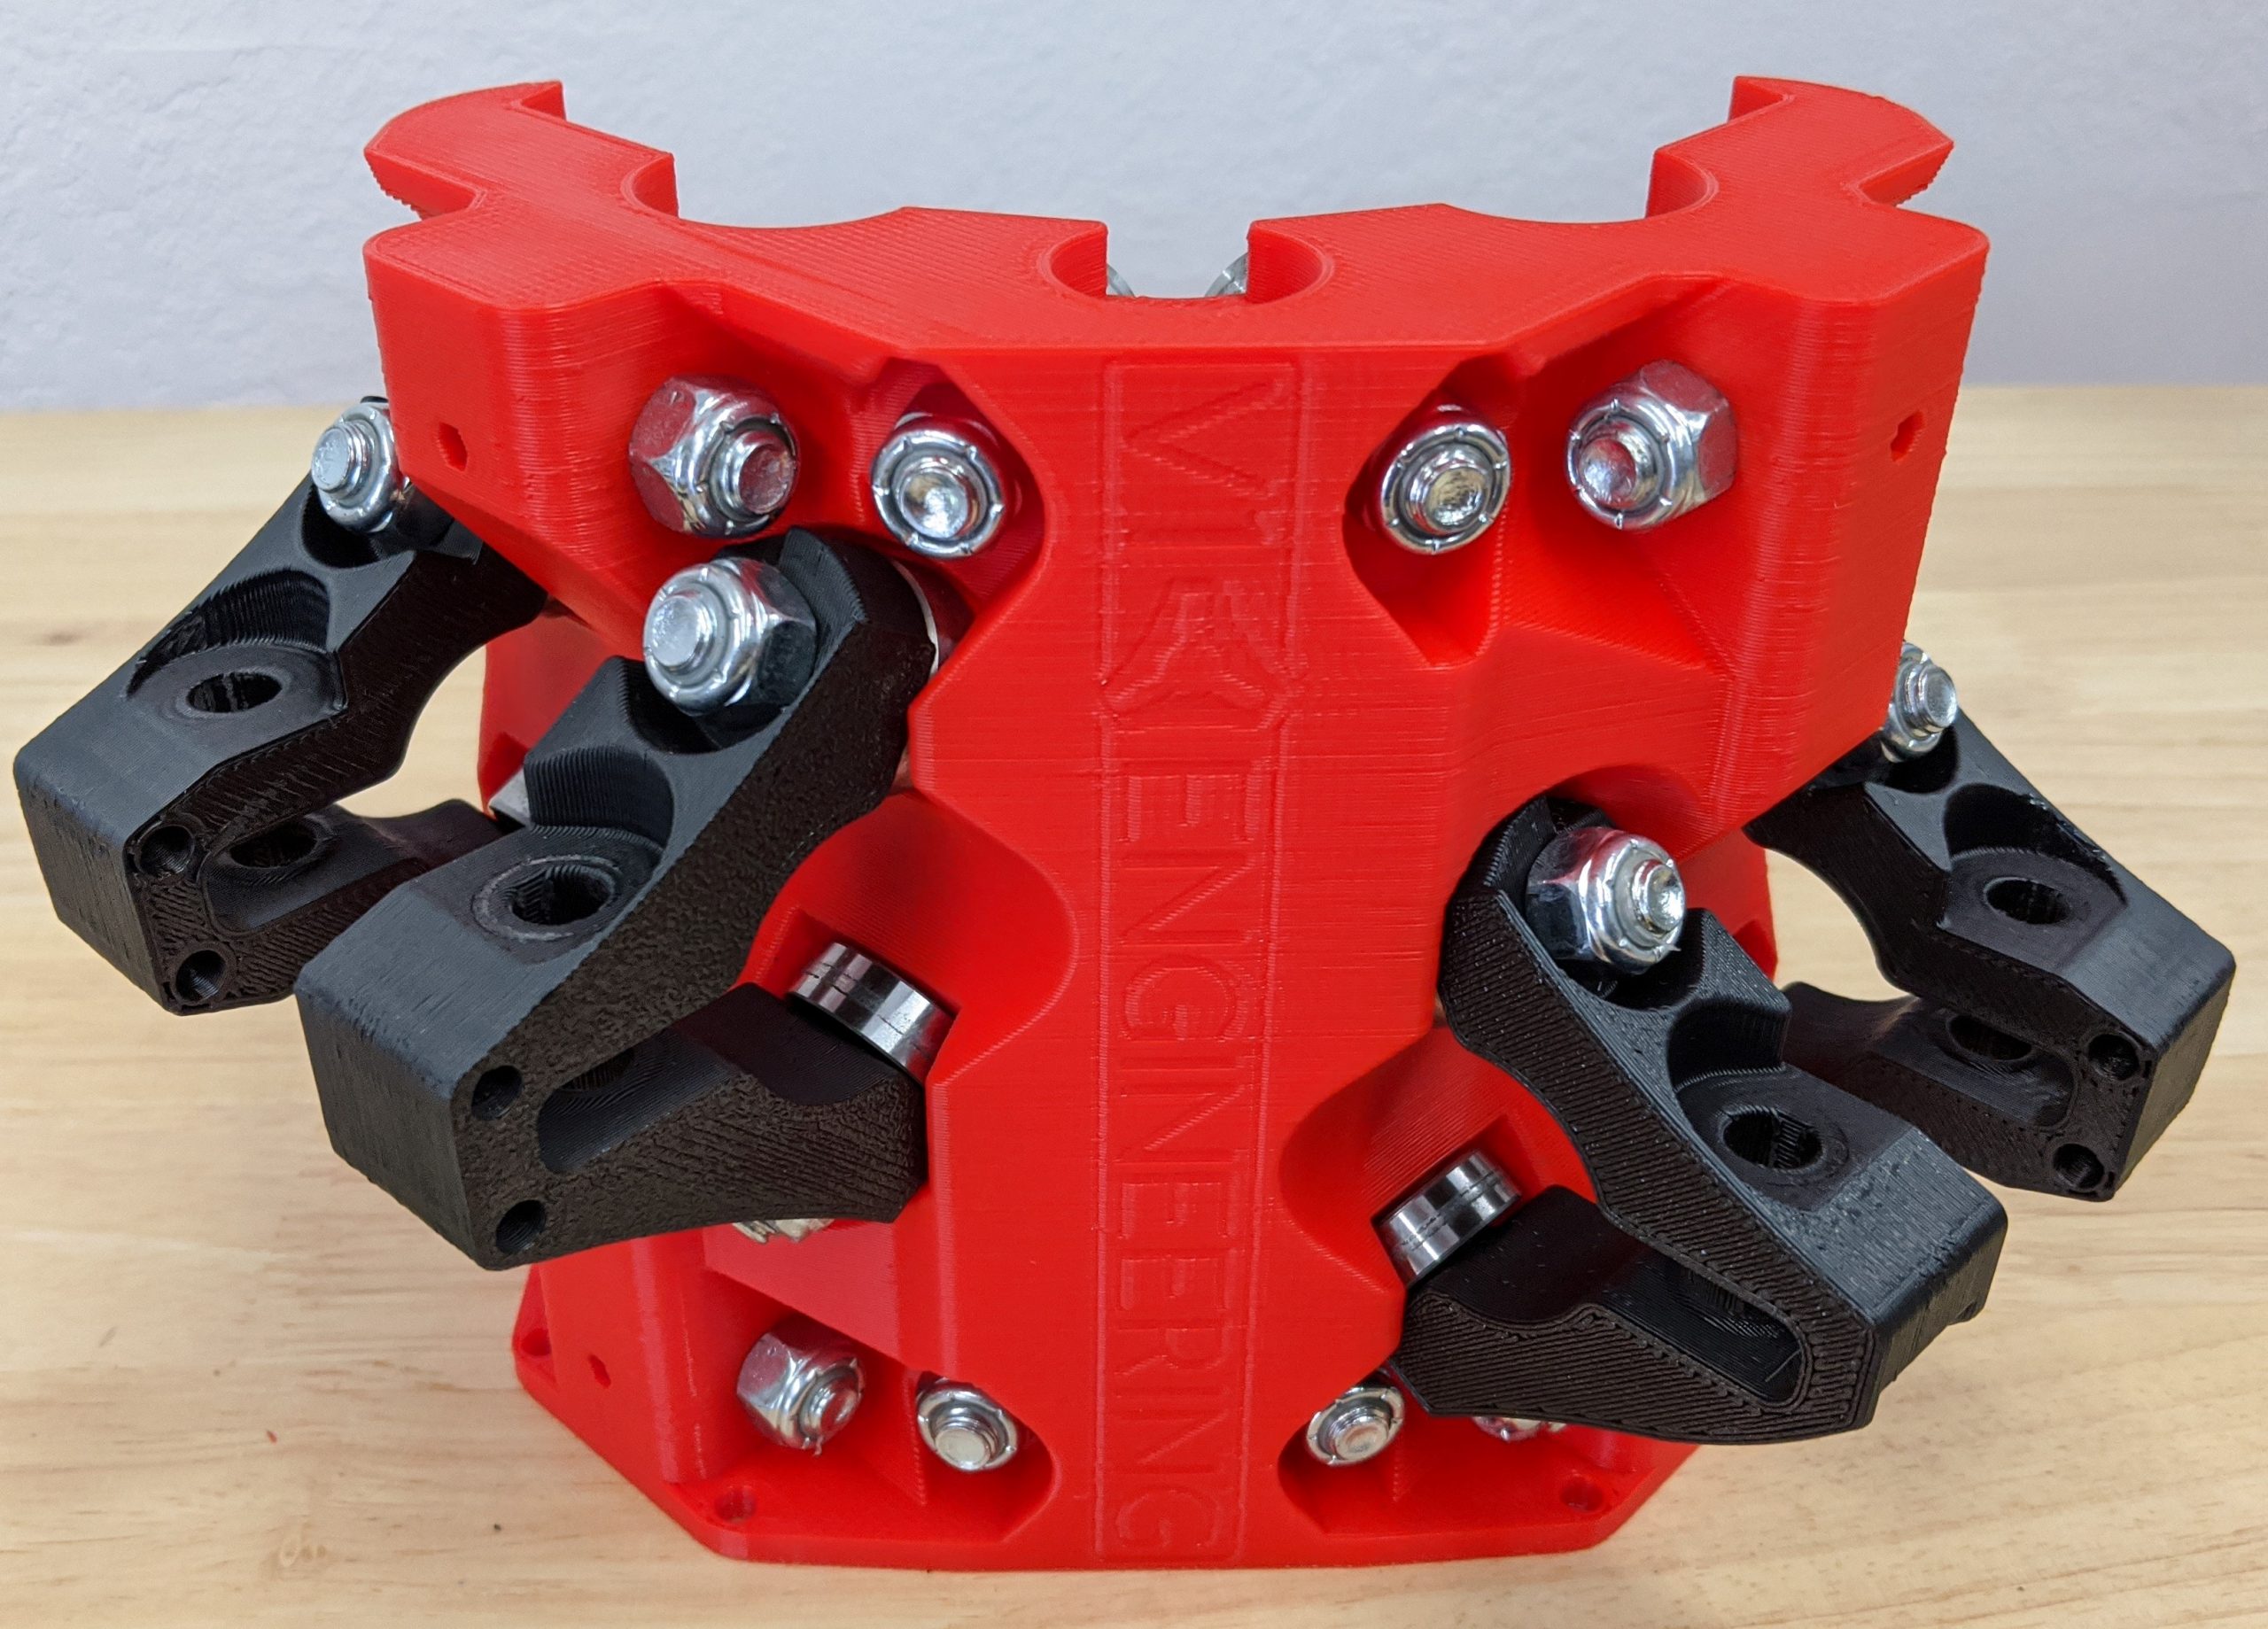
- Add All 4 sets.
- Snug up all these bolts, 7in/lbs, just past seated. Do not crush the 1 mm spacers.
- Double-check the part orientation. Flat sides of the Core Clamps face away from each other.
- Notice where the Core ClampY part is located.
Tip
The holes in the Core Clamps are just for you to mount things if you need a spot. The holes fit M5s (or cable ties).
Gantry Rail Tension Bolts
- 4 bolts and bearings
- Slide a bearing in the Core Clamps.
- The bolt heads should all be up - let gravity keep them in place.
- Do not use a nut yet.
- All 4 bolt heads up, no nuts yet.
Setting the Gantry Rails
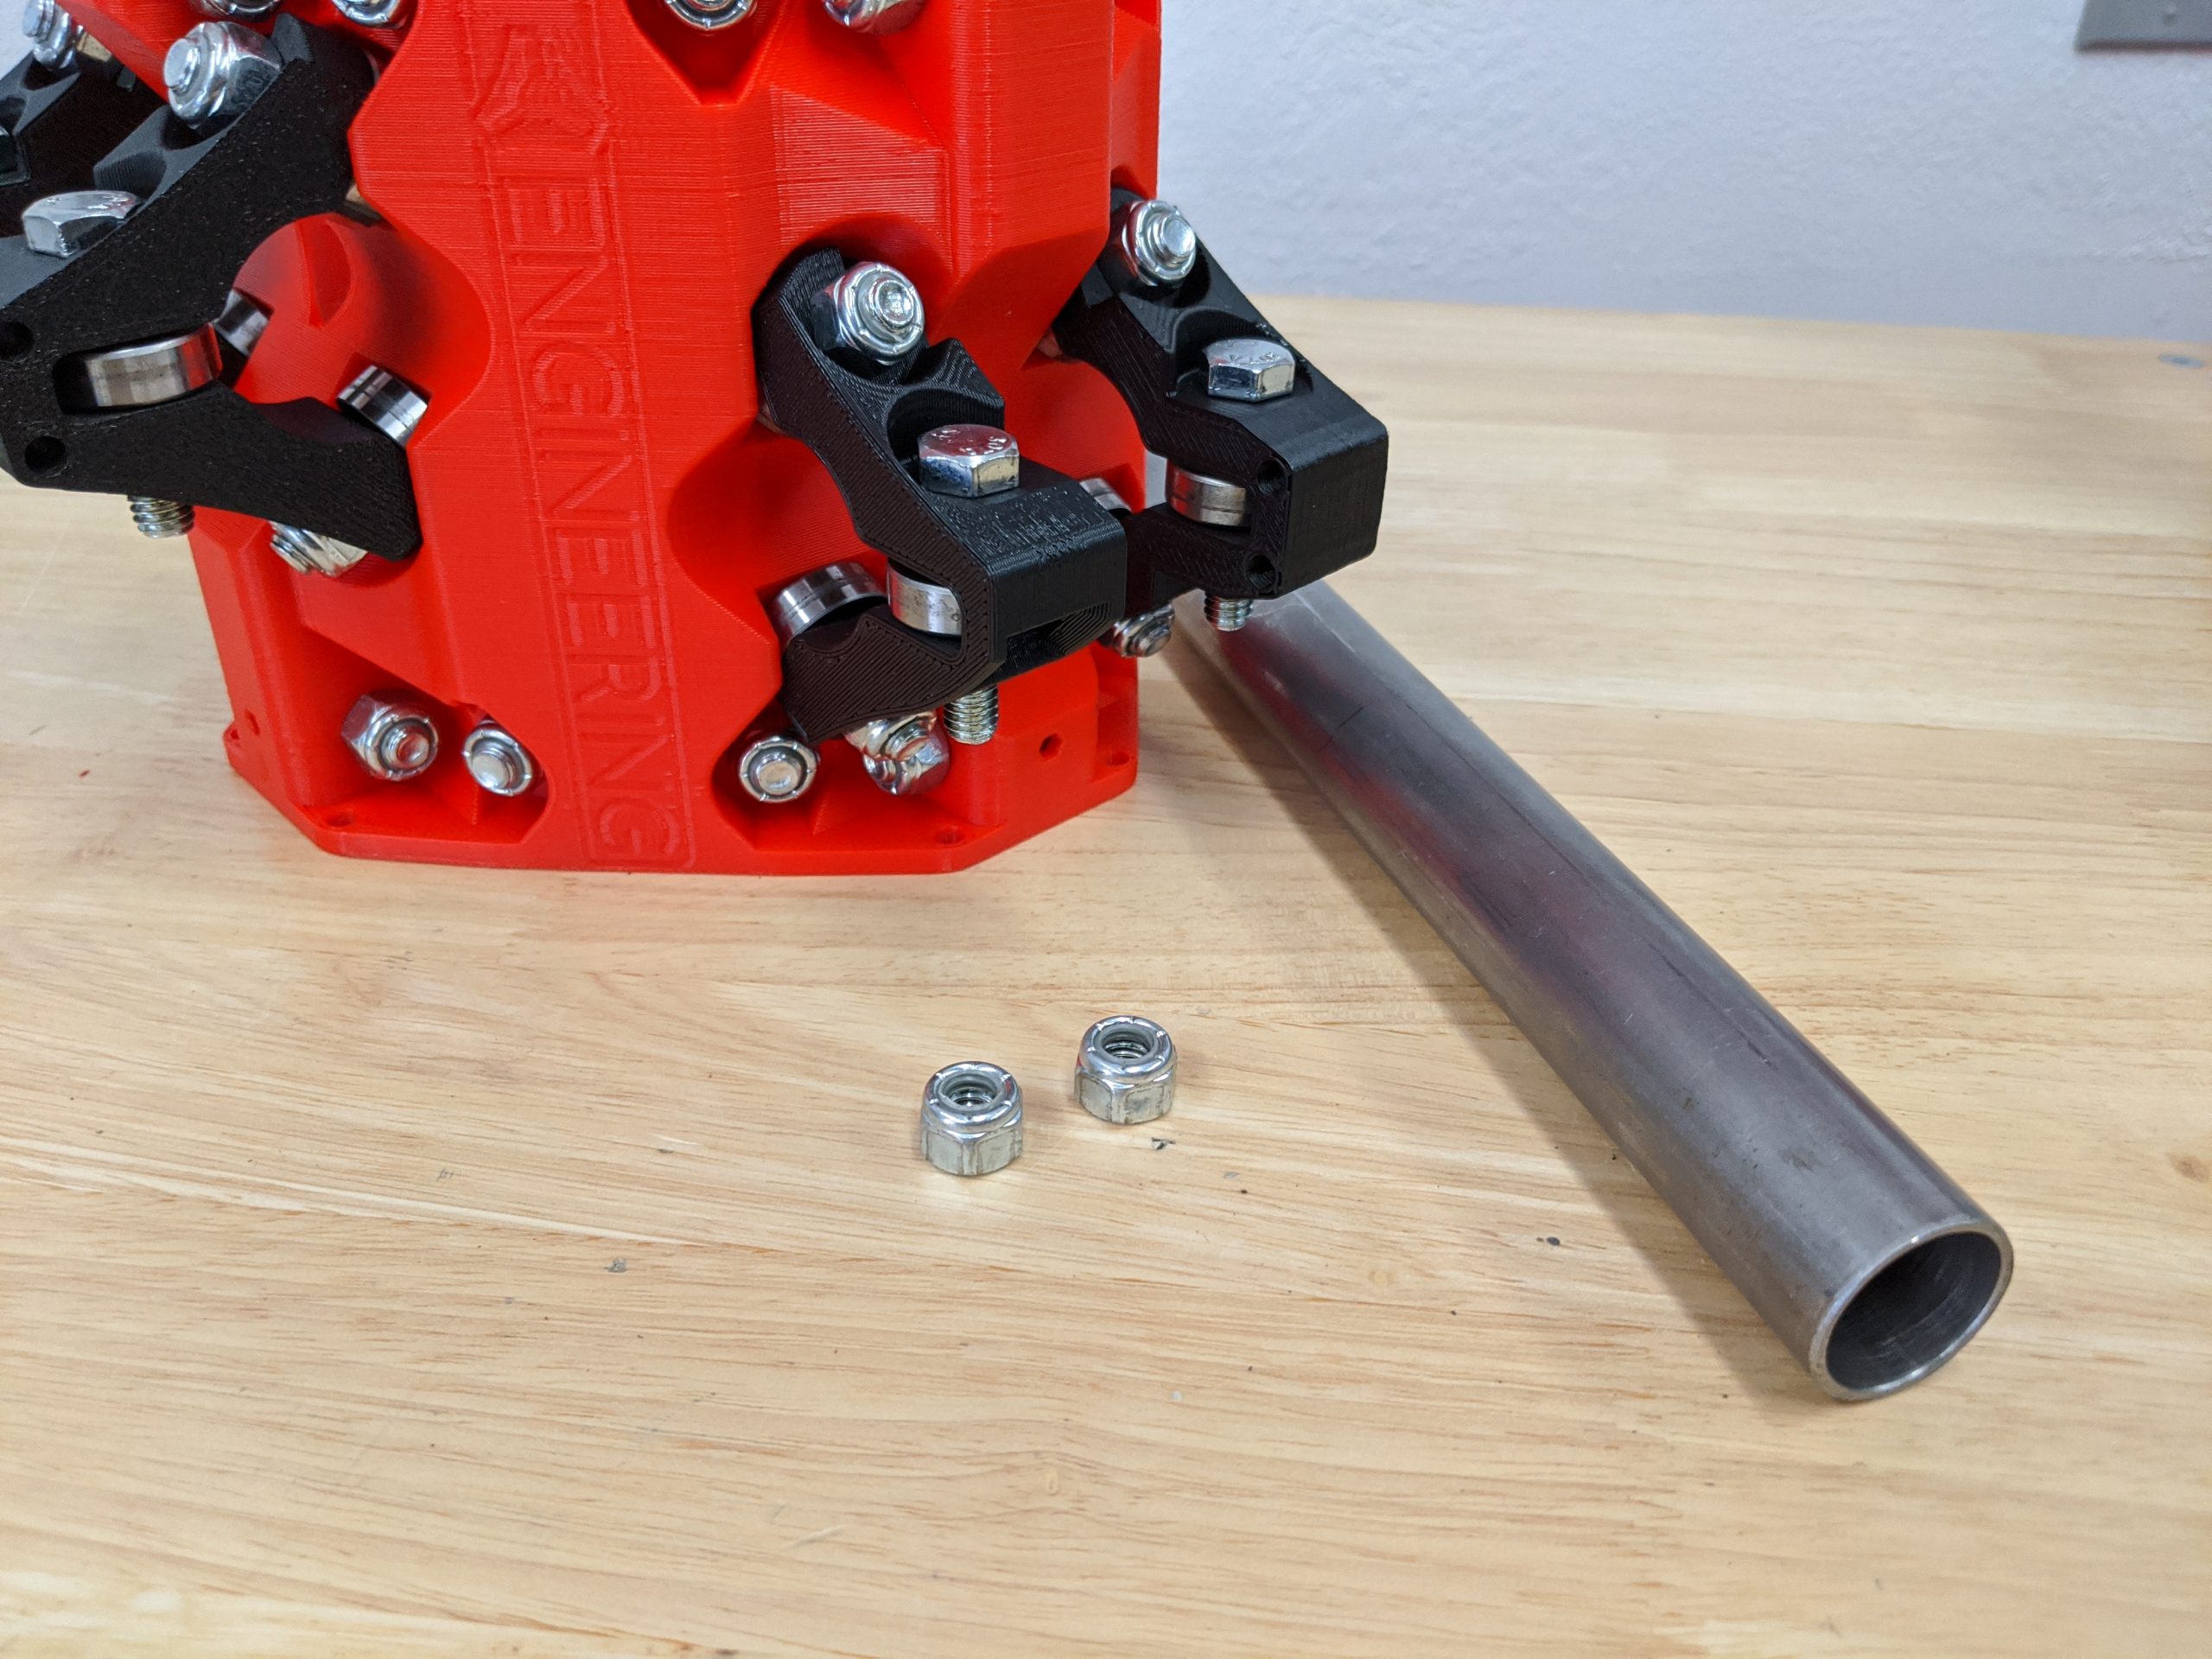
- You will need a rail and nuts for each tension bolt.
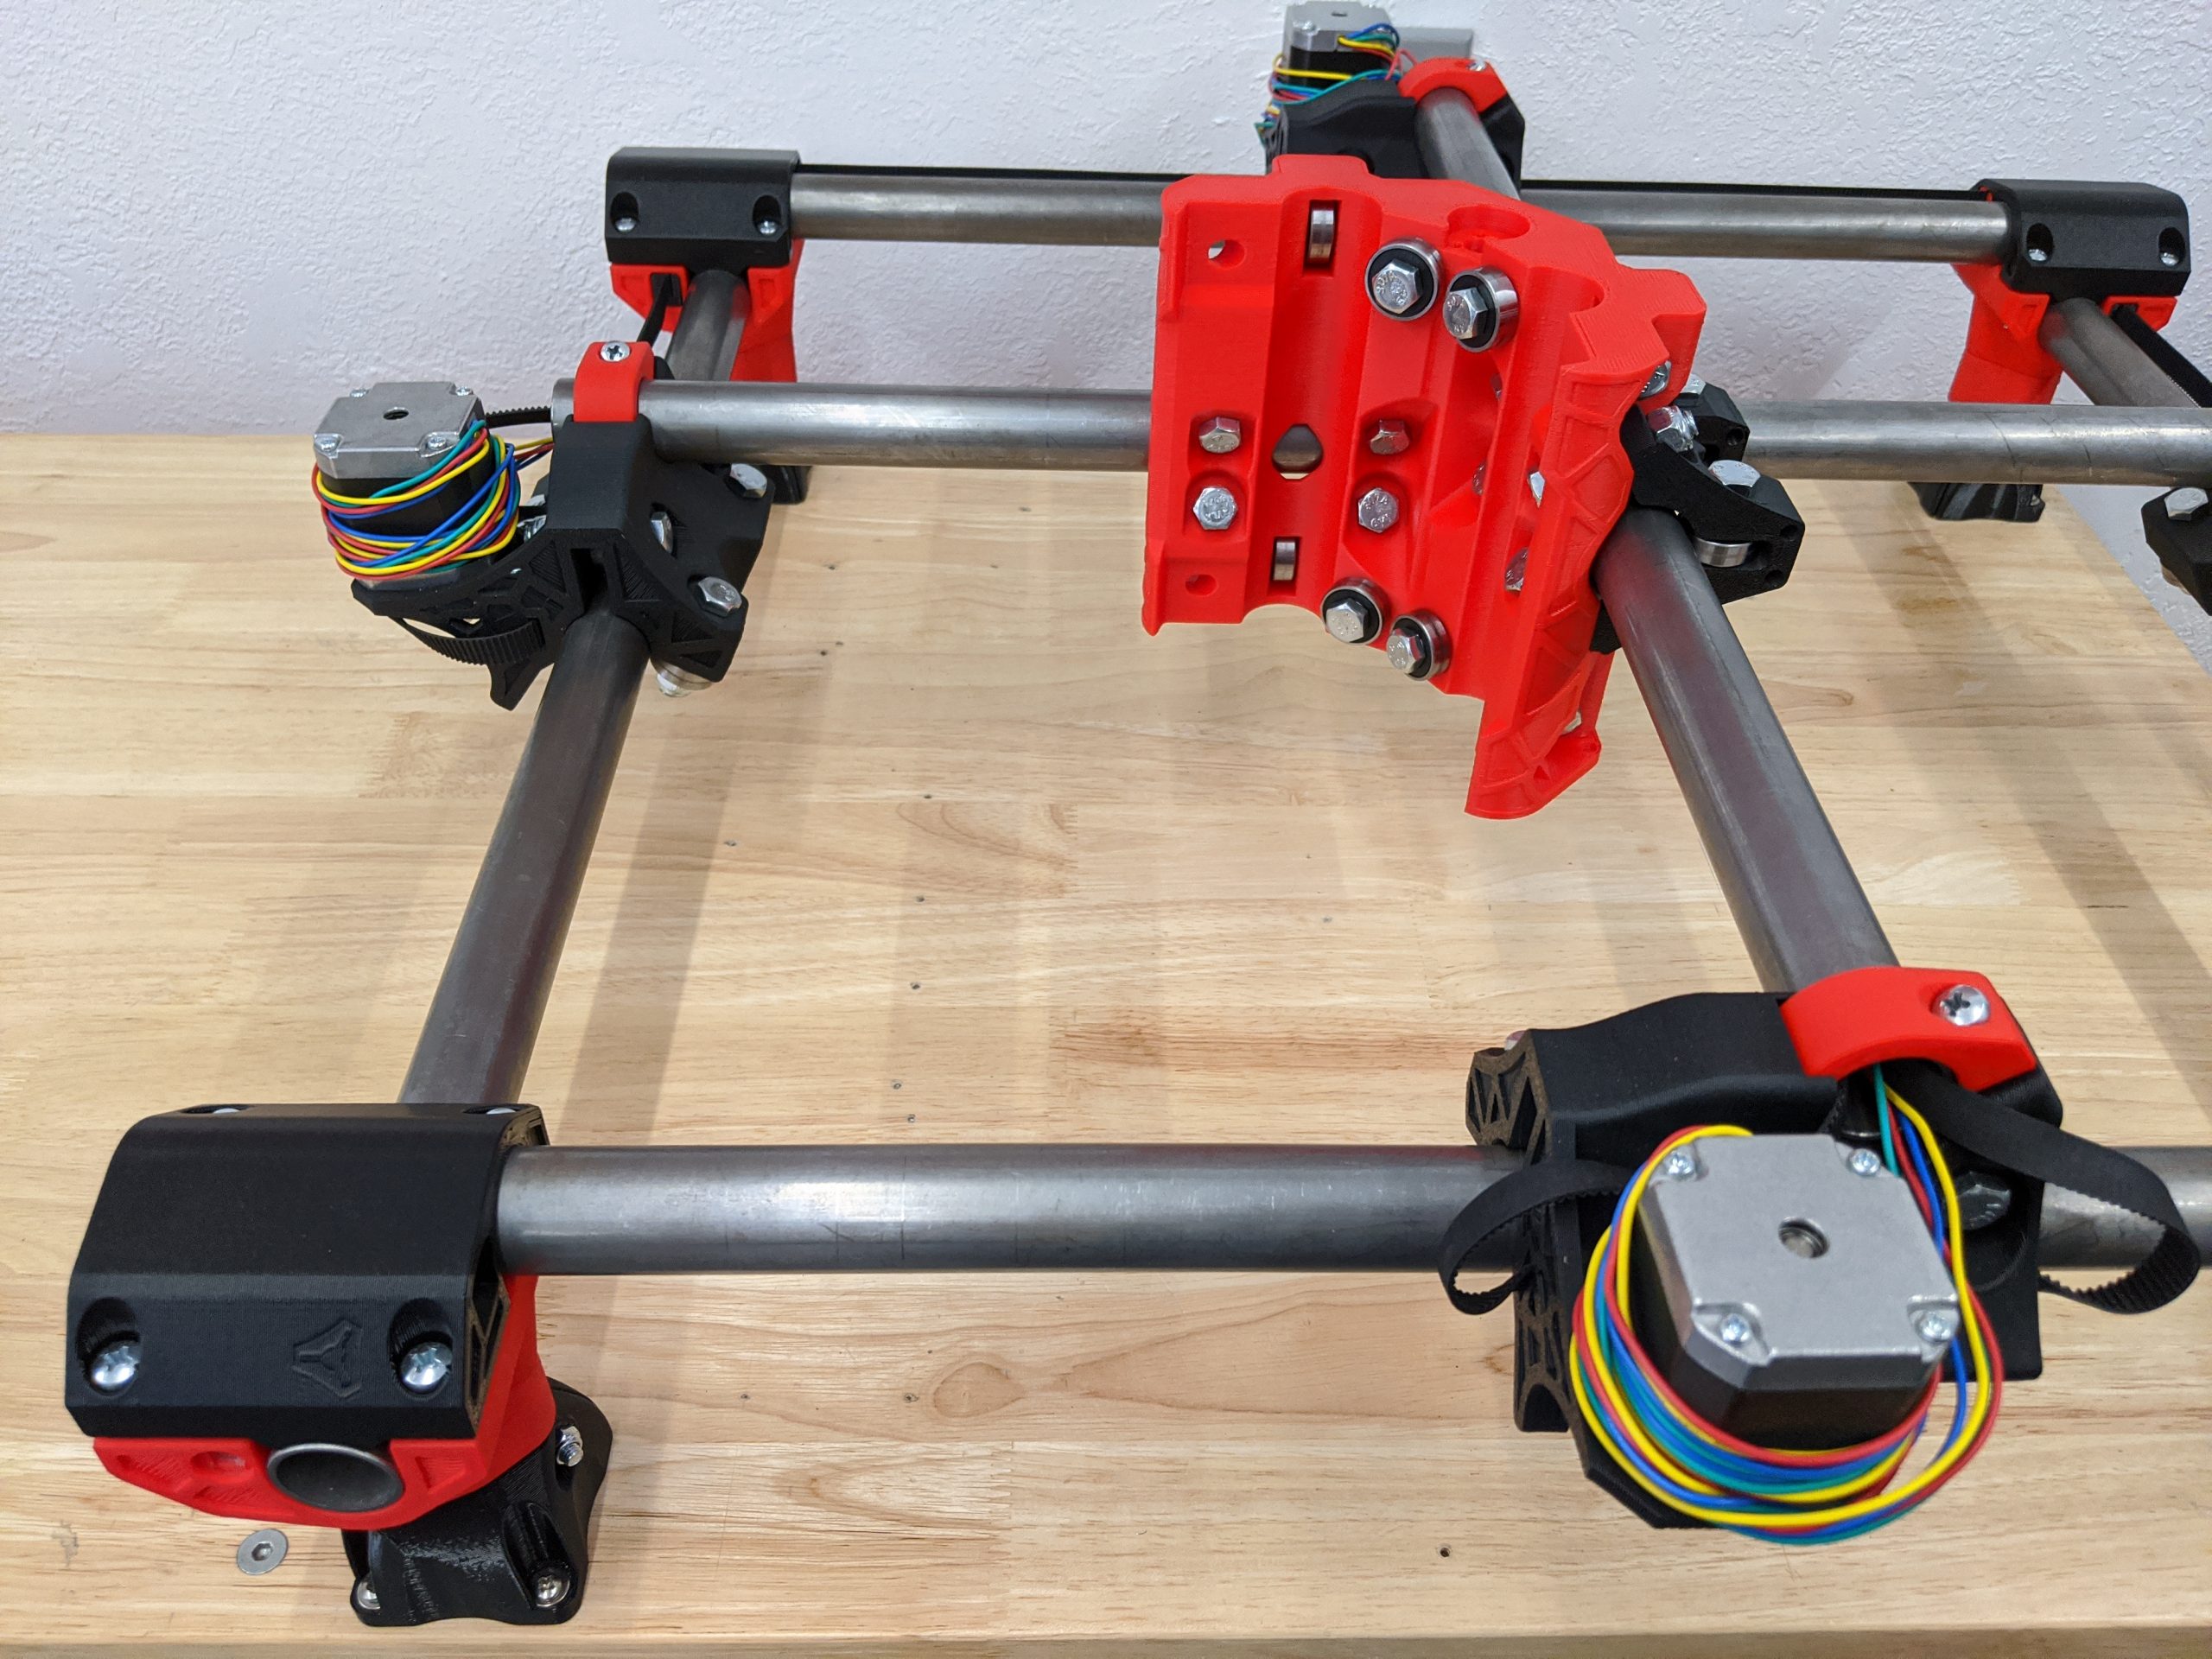
- Slide the rail in the assembly.
- The rail should have slight tension and feel good with no nuts in place.
- All the bearings should be making contact.
- If your rail is loose or too tight there could be other issues.
- At this point, put the nuts on. Carefully seat the nuts just to lock in the current tension.
- A very light touch is needed here. You will be coming back to these so just seat the bolts and nuts.
- The rails should have a slight drag and feel the same with and without the nuts in place.
Tip
More tension is not better. Too loose and too tight are bad. If your rails did not have a good feeling tension like the Trucks in the earlier steps please stop and ask in the forums for help. If the rails feel really tight before adding the tension nuts with the rail in place loosen and tighten the two other nuts and bolts in each Core Clamp. This can give extra room if needed.
Truck Locks
- Add both gantry rails.
- The open face of the Core should face the 0,0 corner (left nearest corner).
Info
Because of the asymmetry of the Trucks, if the Core doesn’t point to 0,0, the work area will be smaller.
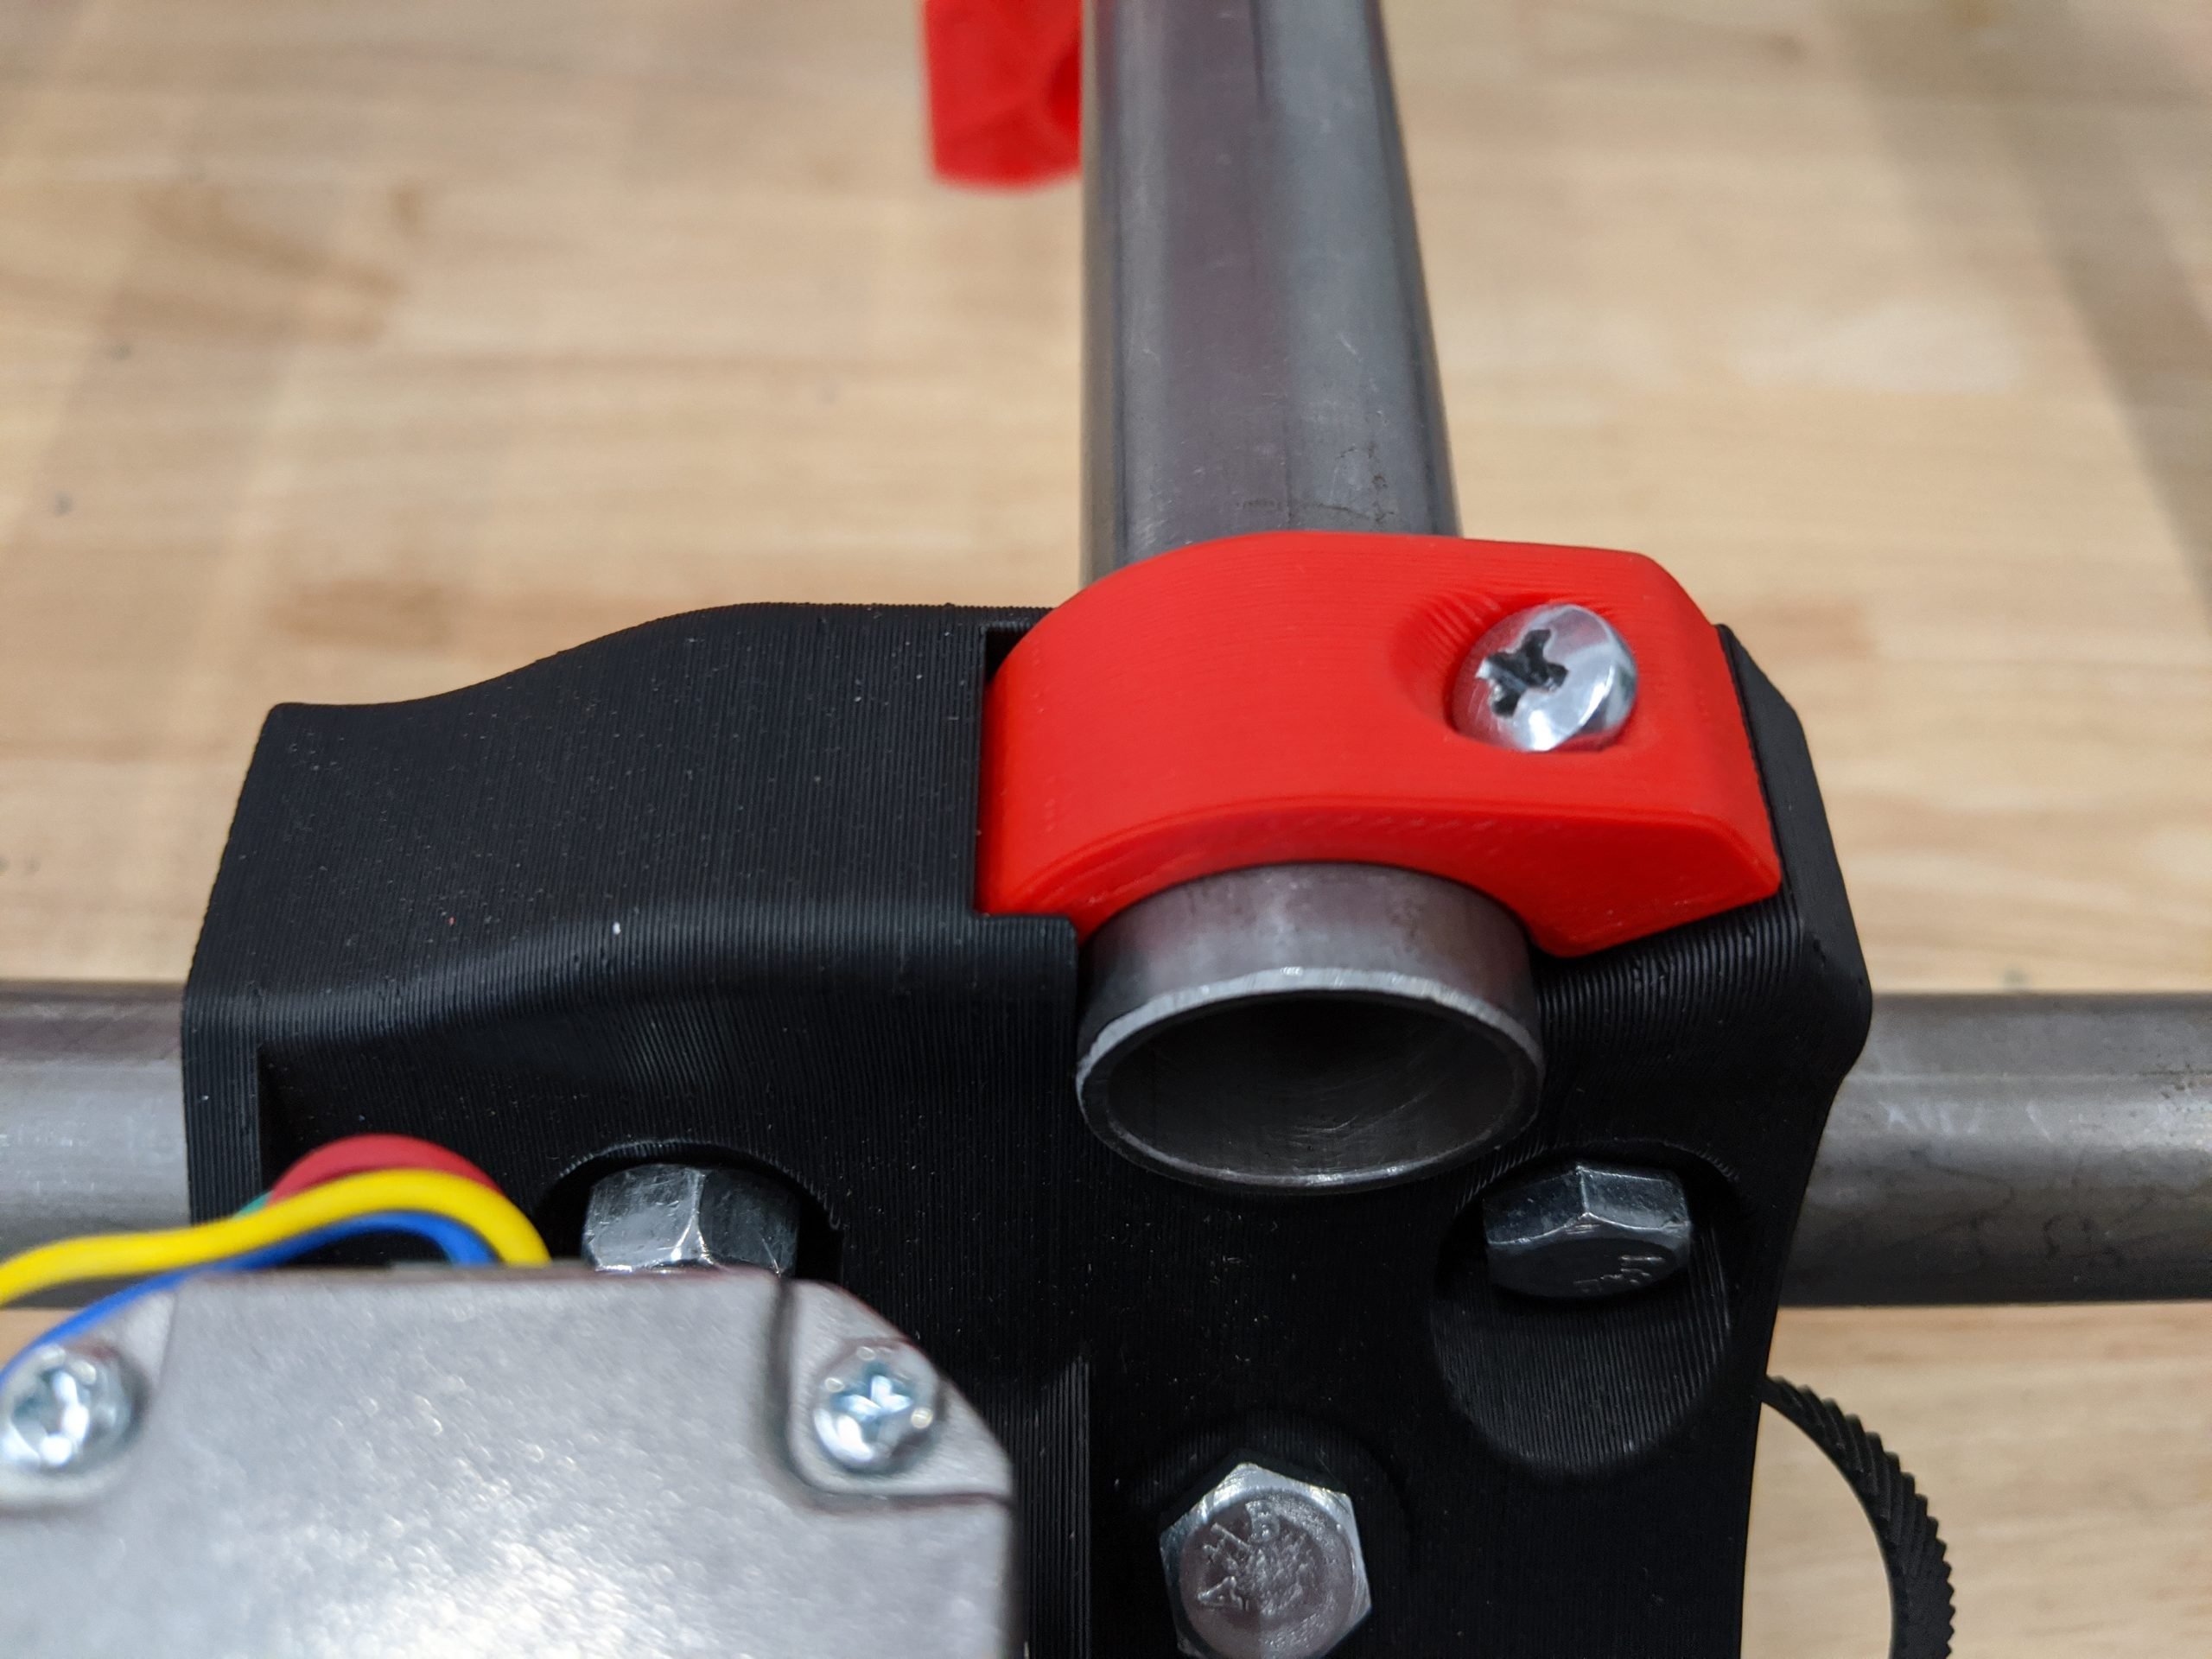
- Snug up the Truck Clamps.
- There is a gap here, same as the clamping parts. Do not try to close the gap.
- No need to stop the rails from rotating but there should be resistance.
Leadscrew Nut
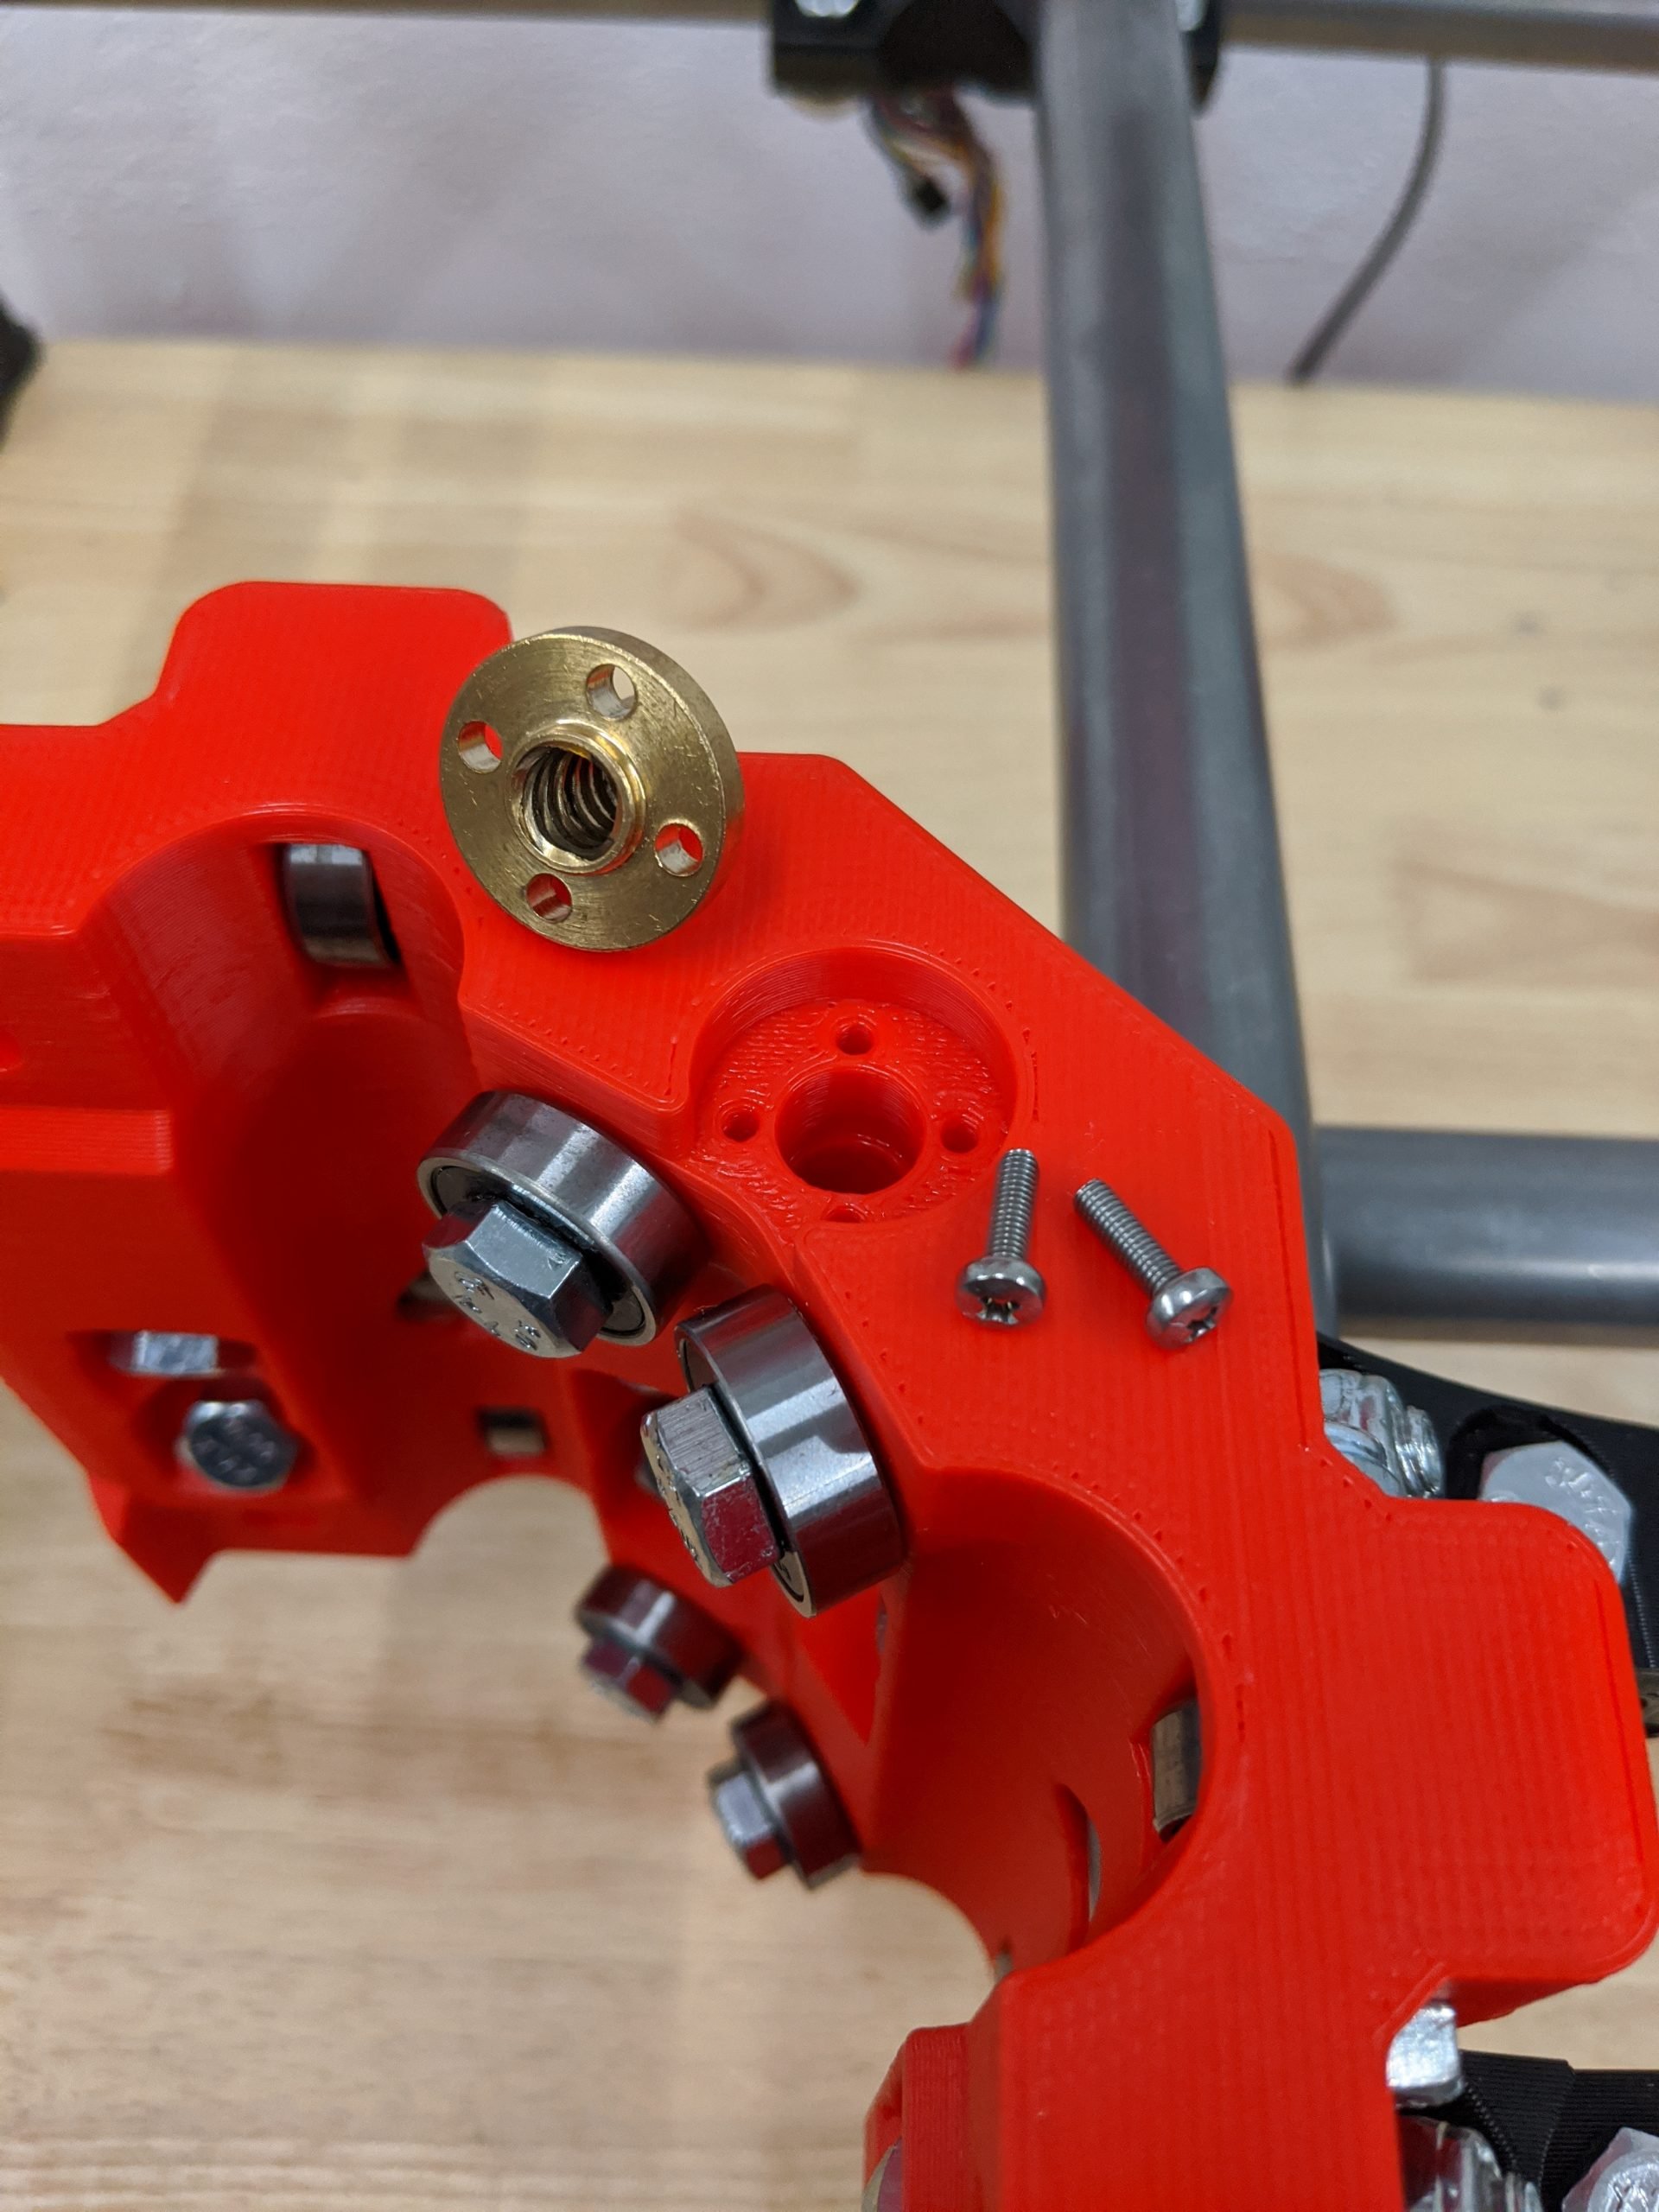
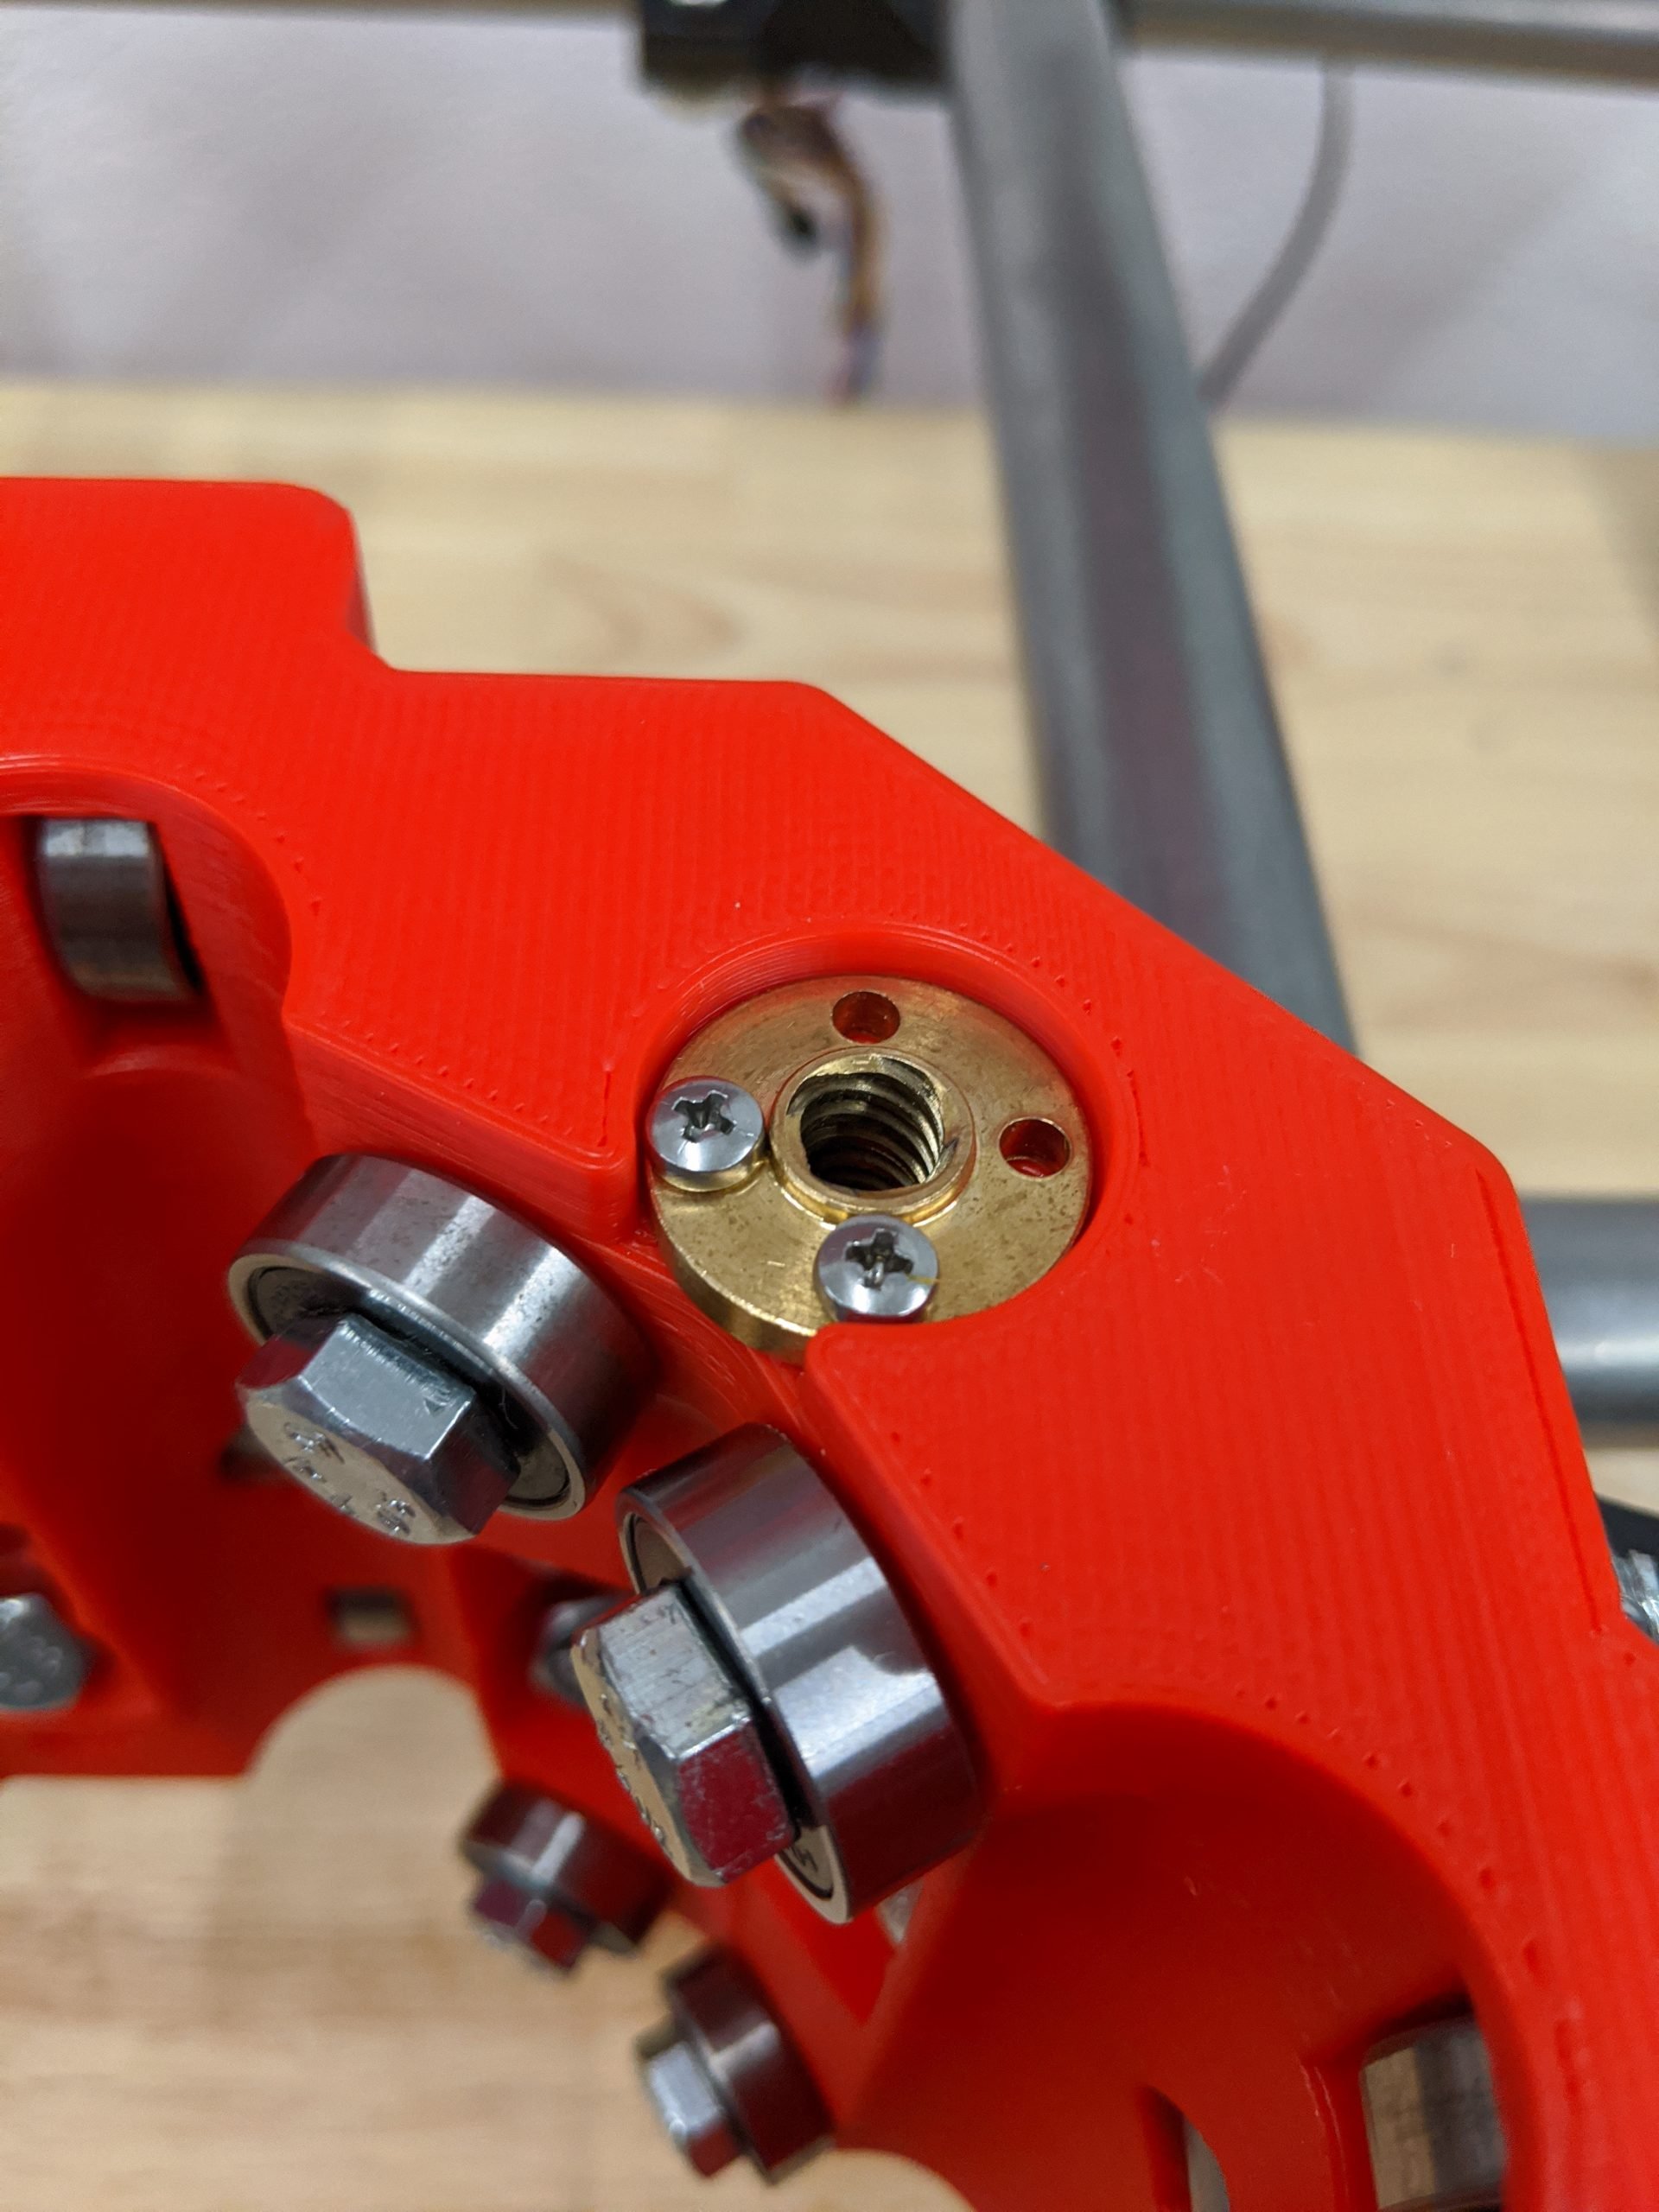
- You will need the brass T8 lead screw nut and two M3x10 screws.
- The nut has, and needs, some wiggle room.
- Seat two of the screws and then back them off about ½ turn.
- You should just be able to move the nut forward and backwards but not up and down.
Tip
This has to move to help with the Z screw alignment. Too tight and you can get binding. Another tip is to screw them in as shown in the picture, then move the nut back (away from them). If you find you are getting some binding, try moving the screws to the back instead. Left or right can also work.
